Session in Informatica is the building blocks of Workflows. Every task has a different functionality, based on the requirement we use tasks in the workflow or Worklet. Session task can be created as reusable or non-reusable.
Session in Informatica is a set of Instructions that describe how and when to move data from sources to targets. Let us learn how to create a session in Informatica
How to create a Session in Informatica?
A session in Informatica can be created and maintained in the server manager, when a session is created we must enter details like session name, session schedule and informatica server to run the session. To create a session in Informatica, Open PowerCenter workflow manager and click on tools |Task Developer.
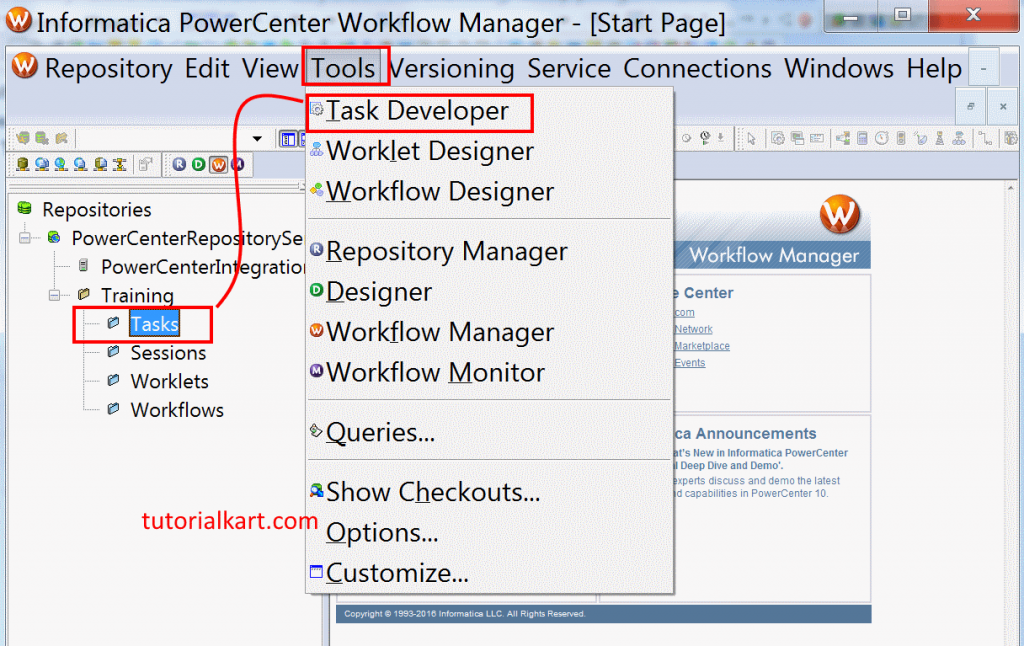
- Reusable tasks can be created using task developer.
- Non-reusable tasks are created using Workflow manager.
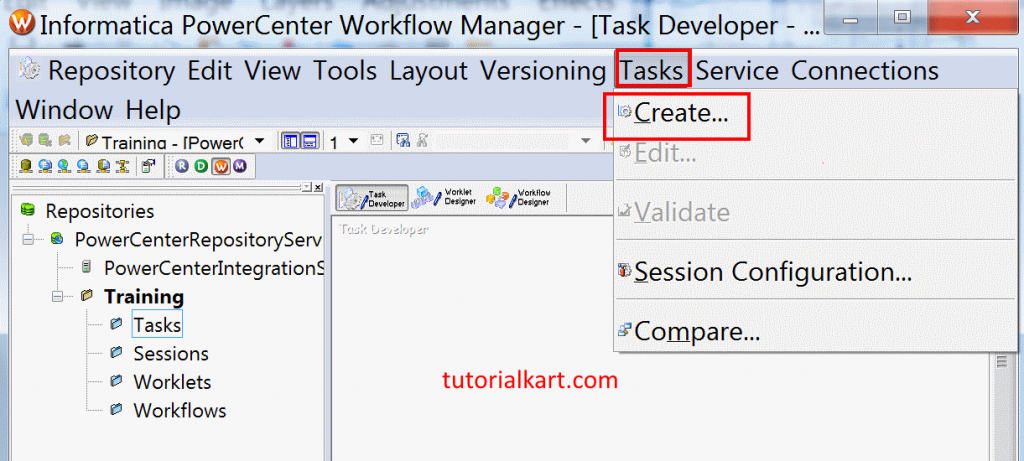
Click on Tasks menu and choose create link to create new Session.
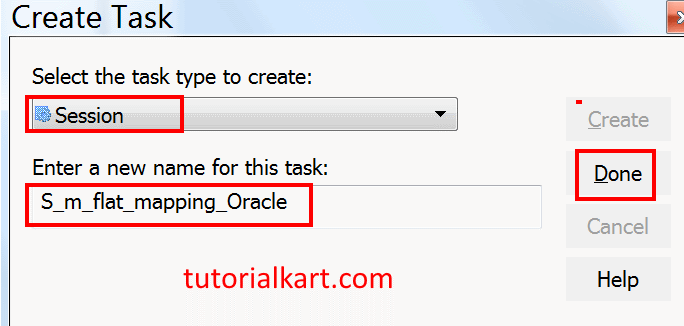
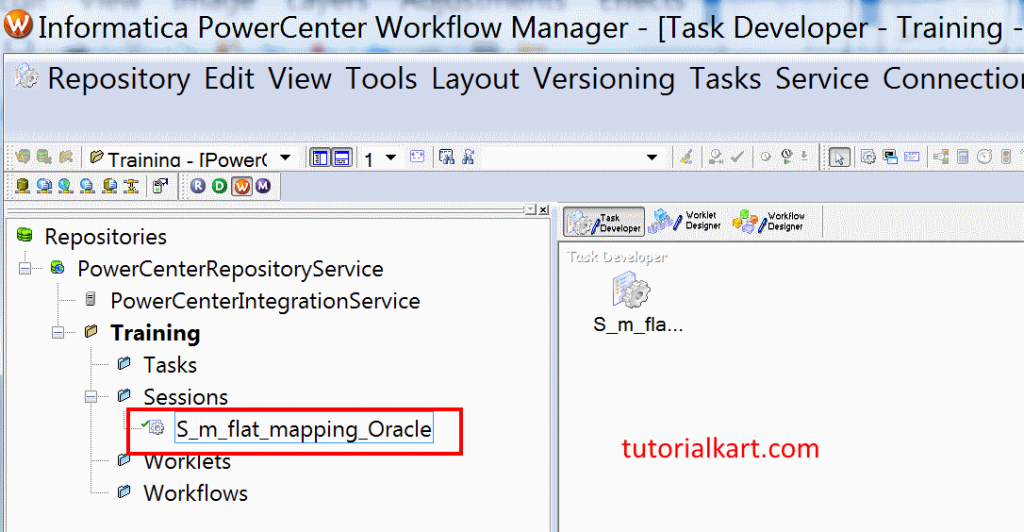
To create task, select session from the drop down, enter a new name for the task as S_m_flat_mapping_Oracle and finally on create button.
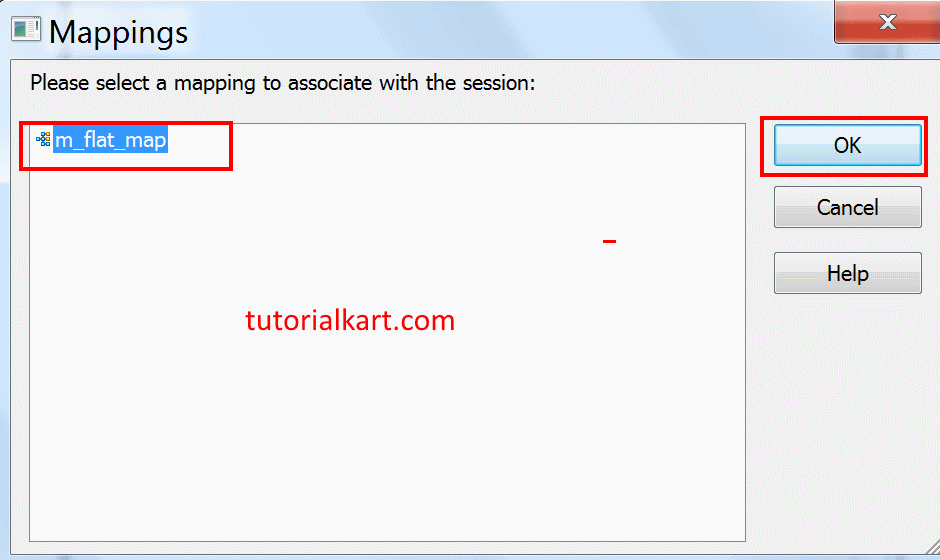
A new window will be opened and it displays list of Mappings that we created earlier, select Mapping and click on OK button as shown below.
- Finally click on Done button to finish.
Creating Reader connection (Target).
Mapping is only a structural representation of the source and Target requirements, the actual data movement happens with the properties that we define in the session task. Before executing the workflow we must configure Writer (Source) connection and reader (Target) connections.
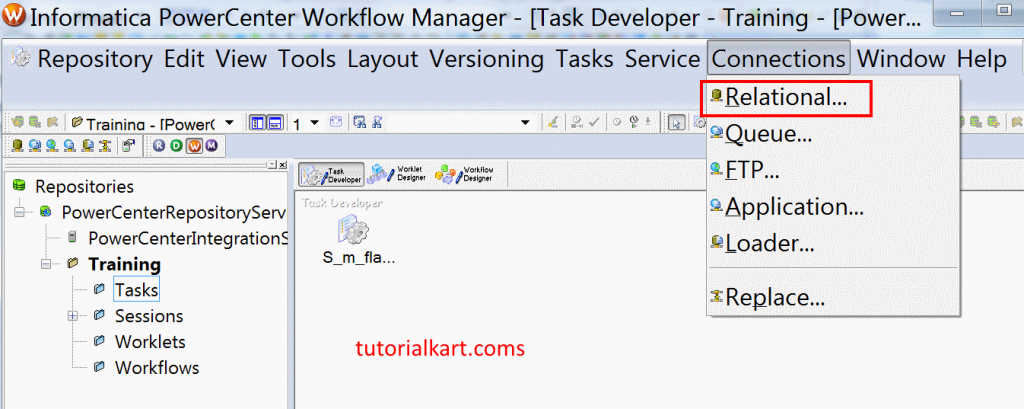
Target load type should not be Bulk, if target contain Indexes. To handle constraint based error, we need to Set Stop on Error = 1. So that the session will not write any rejected data to bad file. Open Informatica PowerCenter Workflow Manager, navigate to Connections | Relational.
Now a new window will be opened to create witter connection for Target. Enter all the details as shown below.

- Enter name as SYSTEM_db_Oracle_reader.
- Username as SYSTEM.
- Enter Password.
- Connection string as ORCL.
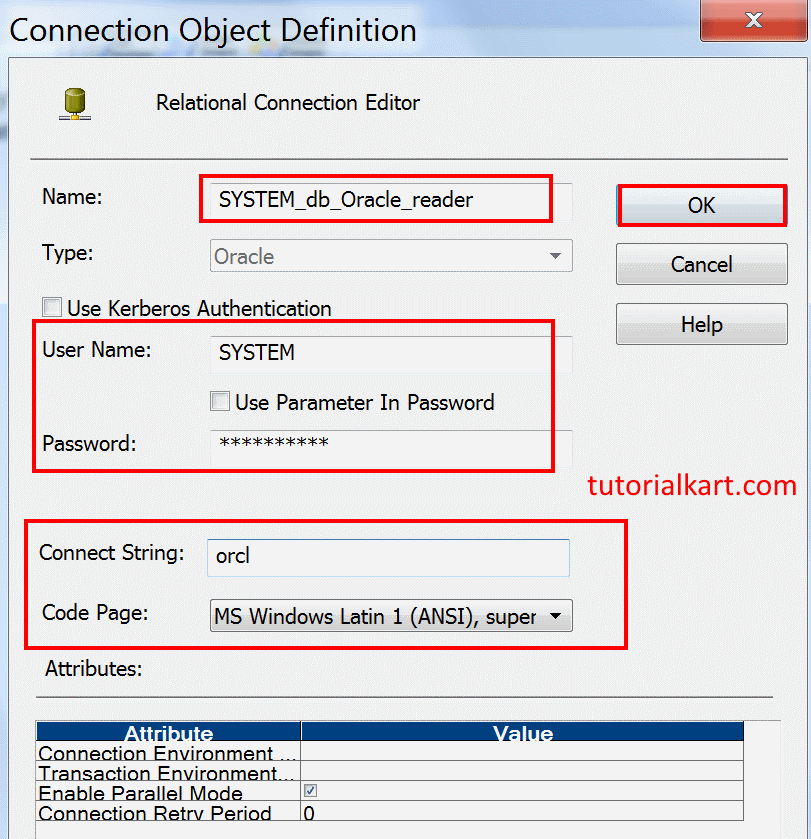
- Finally click on Save button.
Creating Writer connection
To create writer connection, select the type Oracle and click on new button as shown above. Now enter name, type, username and password in connection Object definition page.
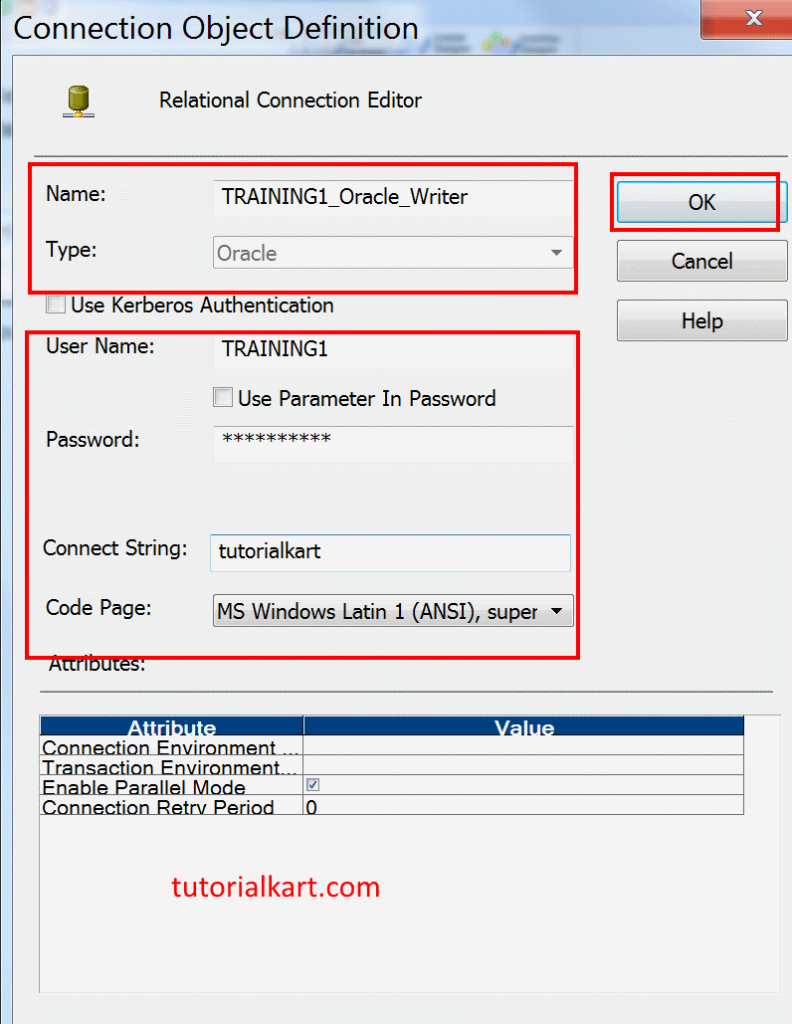
- Finally click on OK button.
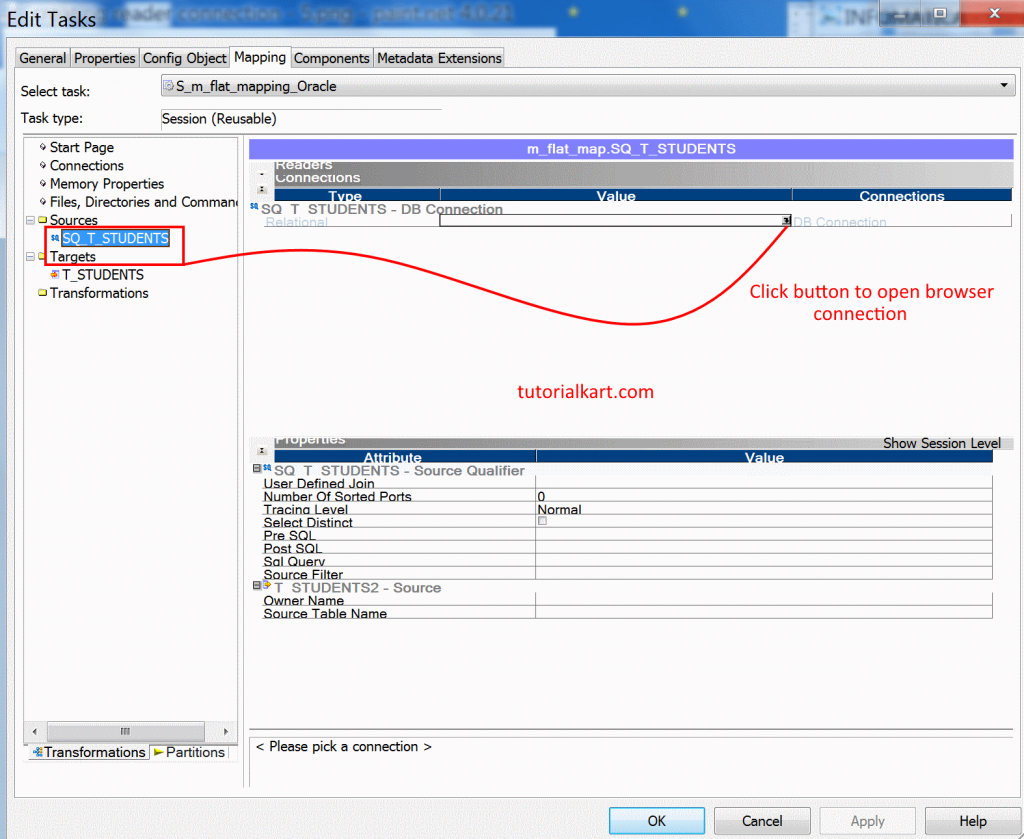
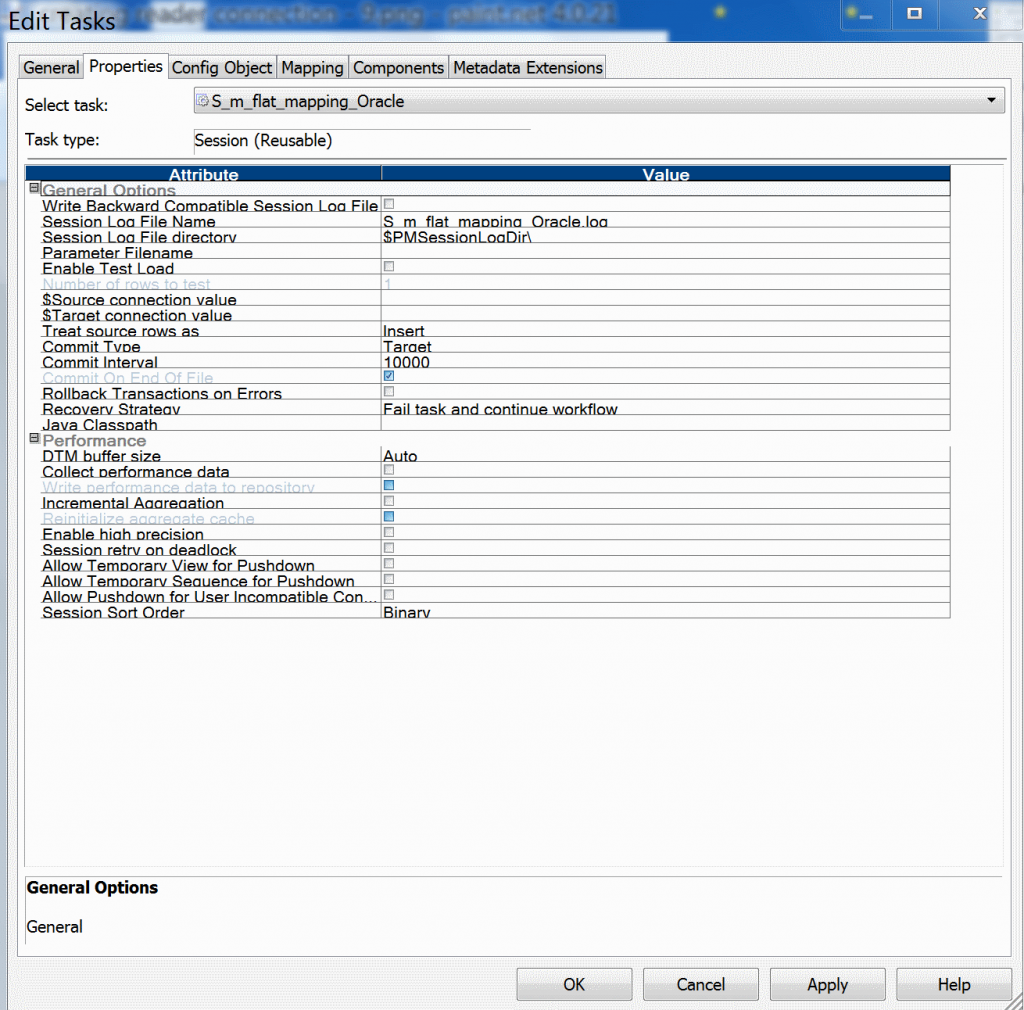
Now double click on the Session, select mapping tab as shown below.
From the left window, select source and from connection (right window), click on [icon name=”arrow-circle-down” class=”” unprefixed_class=””] icon to open connection browser as shown below.
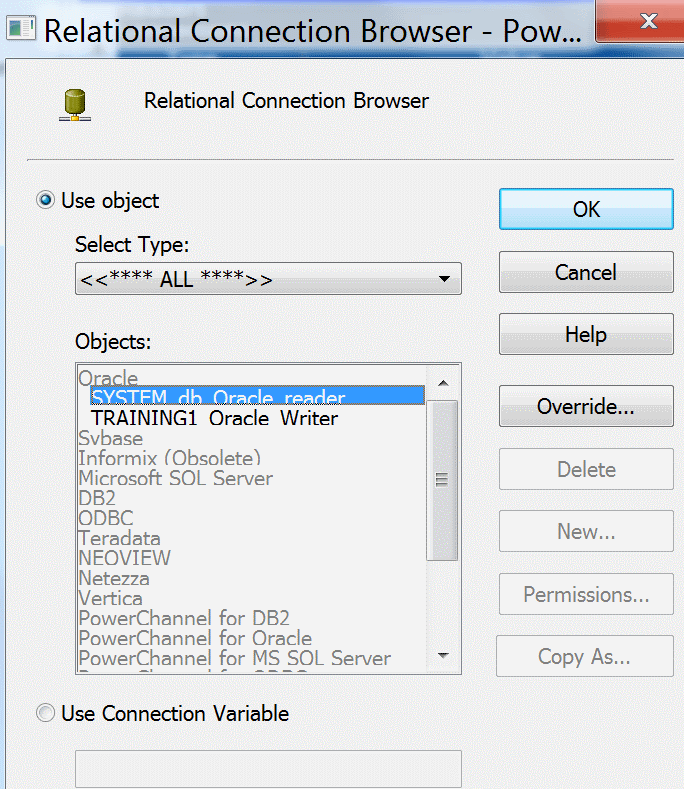
- Select the connection SYSTEM db Oracle reader and click on OK button.
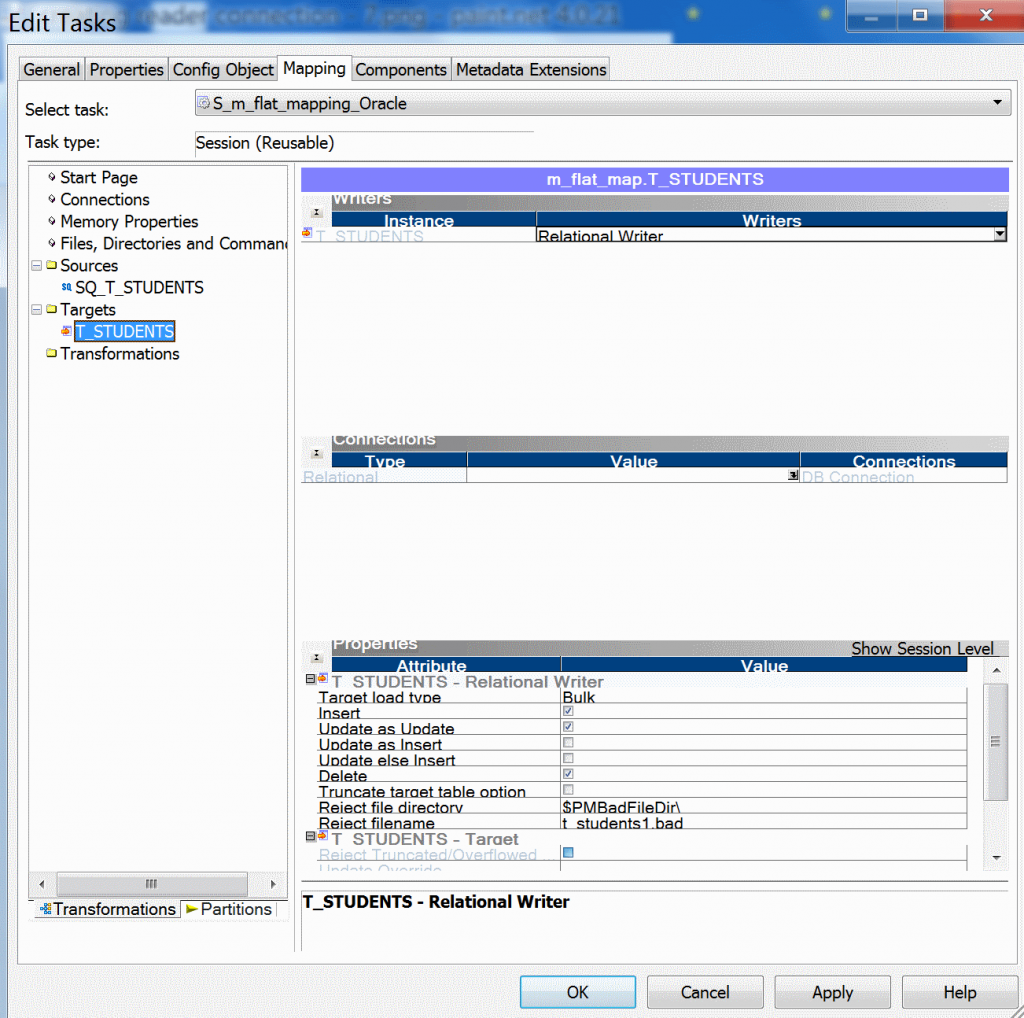
Now from left window select Target and select [icon name=”arrow-circle-down” class=”” unprefixed_class=””] to open connection browser.
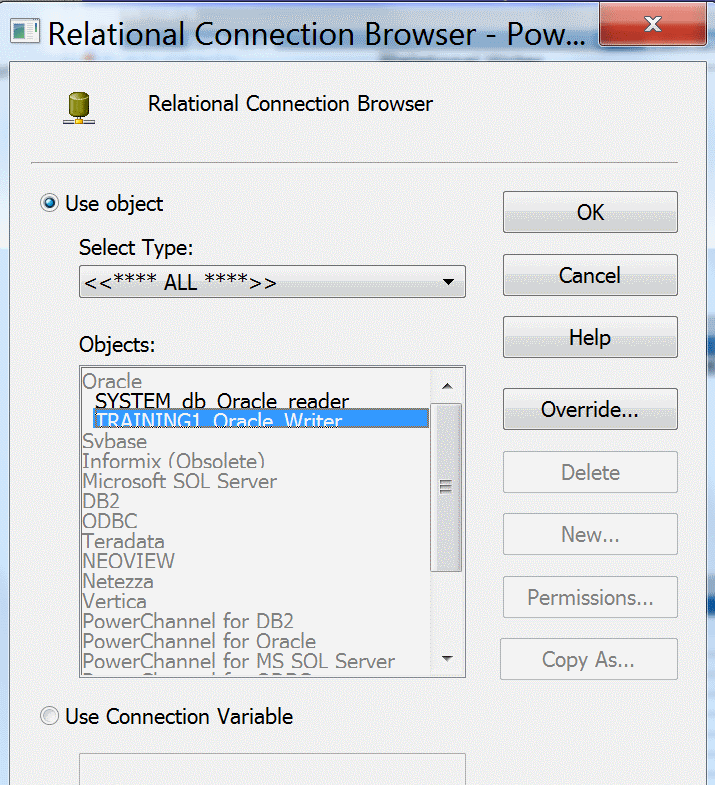
- Select the connection TRAINING1 Oracle writer and click on OK button.
From properties, set target load type as ‘Normal’ and click on Apply. So why we changing Target load type from Bulk to normal ? There is a lot difference between normal mode and bulk mode.
Normal mode means record by record loading and bulk mode means massive data packets loading.
Click OK and finally Save the settings from the Repository.