WordPress – Change Site Title
The site title in WordPress is one of the first things visitors notice about your website. It appears in the browser tab, search engine results, and often in the header of your site. Changing the site title is a straightforward process, but it is essential to ensure that it reflects your website’s purpose and branding effectively.
In this tutorial, we will guide you through the steps to update your WordPress site title quickly and efficiently.
Step 1 – Log In to Your WordPress Admin Dashboard
To change your site’s title, the first step is to access your WordPress admin dashboard. Open your web browser and navigate to your site’s login page, usually located at yourwebsite.com/wp-admin. Replace yourwebsite.com with the base url of your website. Enter your username and password to log in.

Step 2 – Access the General Settings
Once logged in, locate the WordPress admin menu on the left side of the screen. From there, navigate to Settings and click on General. This section contains the basic settings for your site, including the site title and tagline.

Step 3 – Update the Site Title
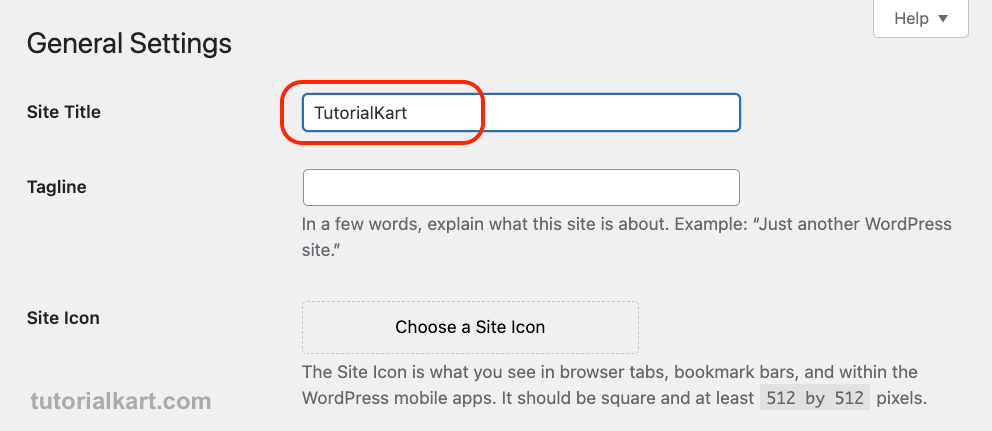
In the General Settings page, you will see a field labeled Site Title.

Enter the new title for your site in this field. Ensure that the title represents your site’s purpose or brand effectively.
I am just typing “TutorialKart”.
Step 4 – Save Your Changes
After entering the new site title, scroll to the bottom of the page and click the Save Changes button.
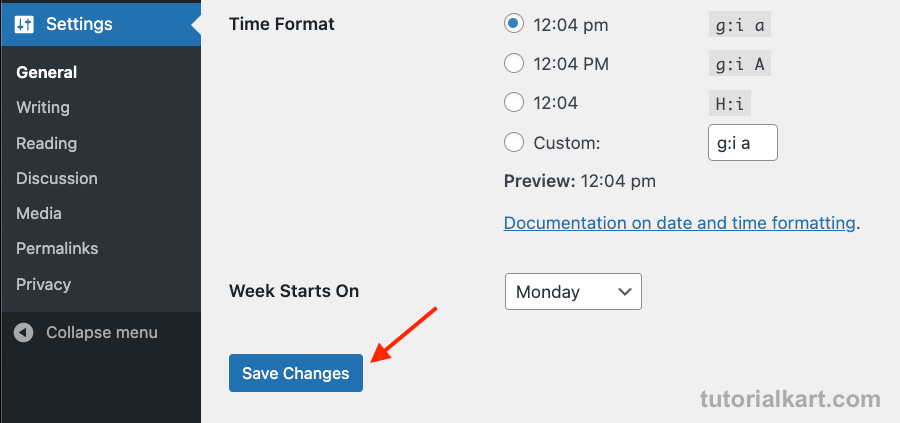
WordPress will save your updated site title and apply it immediately to your website.
Step 5 – Verify the Update
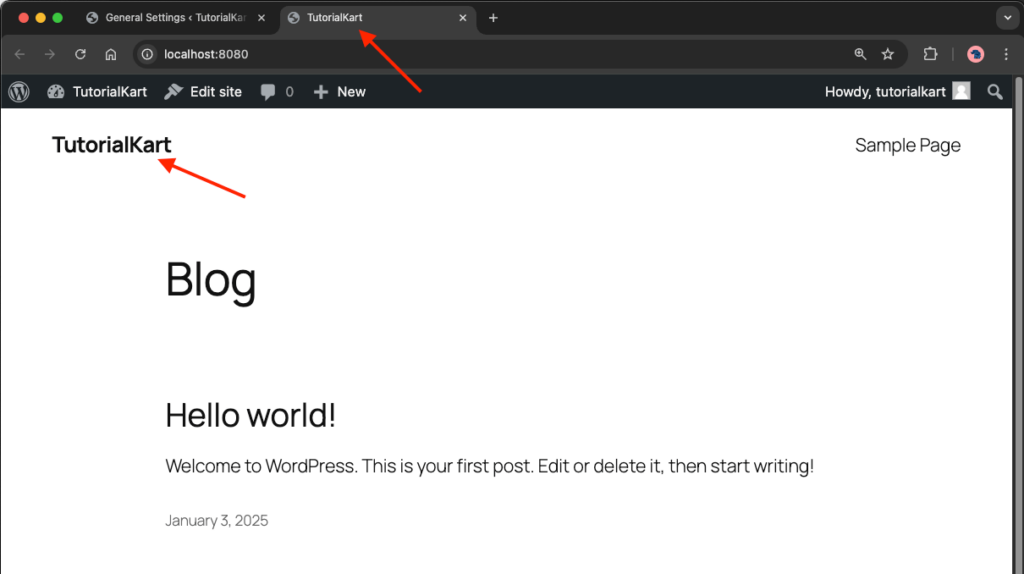
To ensure the changes have been applied, visit the homepage of your website.
The new site title should now be visible in the browser’s title bar and other areas where the site title is displayed.