WordPress – Set Site Icon
The Site Icon, also known as a favicon, is an important branding element for your website. It appears in browser tabs, bookmark bars, and within WordPress mobile apps. A properly set site icon helps your site stand out and improves user experience.
The icon should be square and at least 512 by 512 pixels in size.
In this tutorial, we will guide you through the steps to add or update your WordPress site icon.
Step 1 – Prepare Your Site Icon
Before uploading the site icon, ensure that the image is square (e.g., 512×512 pixels) and represents your site’s brand or purpose effectively. Save the image in a commonly supported format like PNG or JPEG.
For example, consider the following 512×512 PNG image.

We will set this image as site icon in this tutorial.
Step 2 – Log In to Your WordPress Admin Dashboard
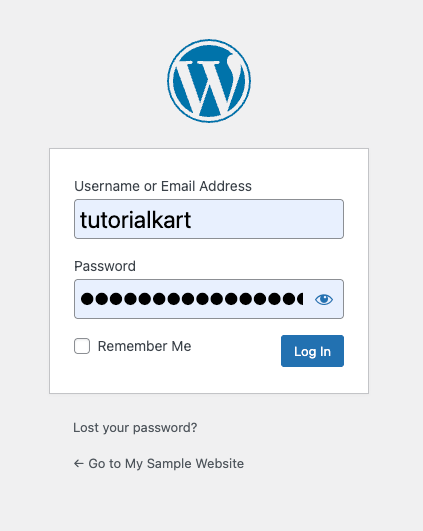
Access your WordPress admin dashboard by navigating to yourwebsite.com/wp-admin in your browser. Replace yourwebsite.com with the base url of your website. Enter your username and password to log in.
Step 3 – Access the General Settings
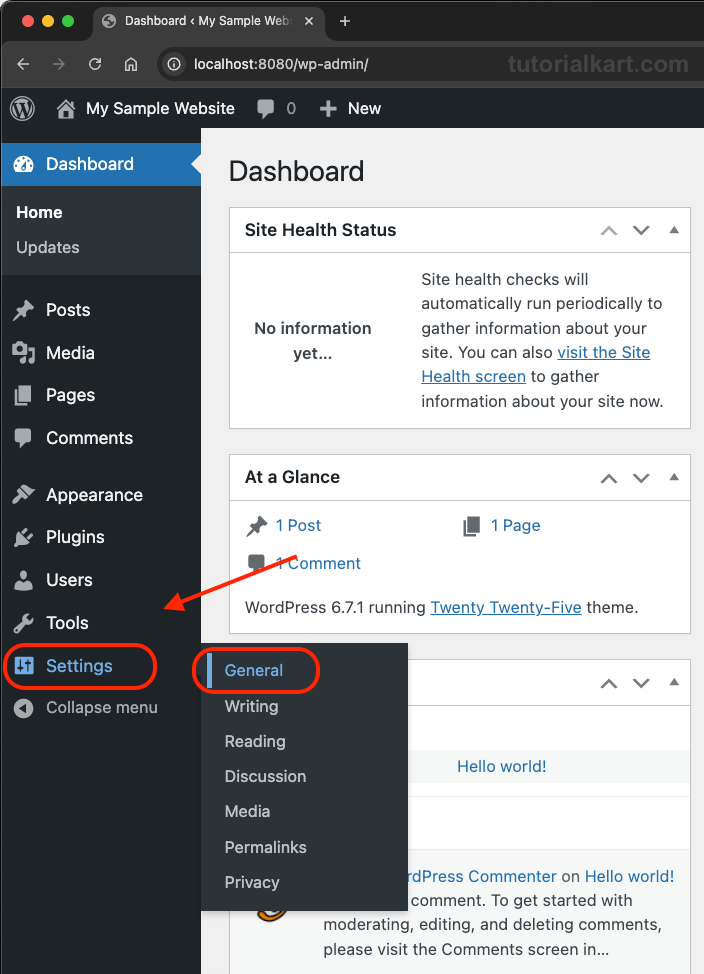
Once logged in, locate the WordPress admin menu on the left side of the screen. From there, navigate to Settings and click on General. This section contains the basic settings for your site, including the site title and tagline.
Step 4 – Upload Your Site Icon
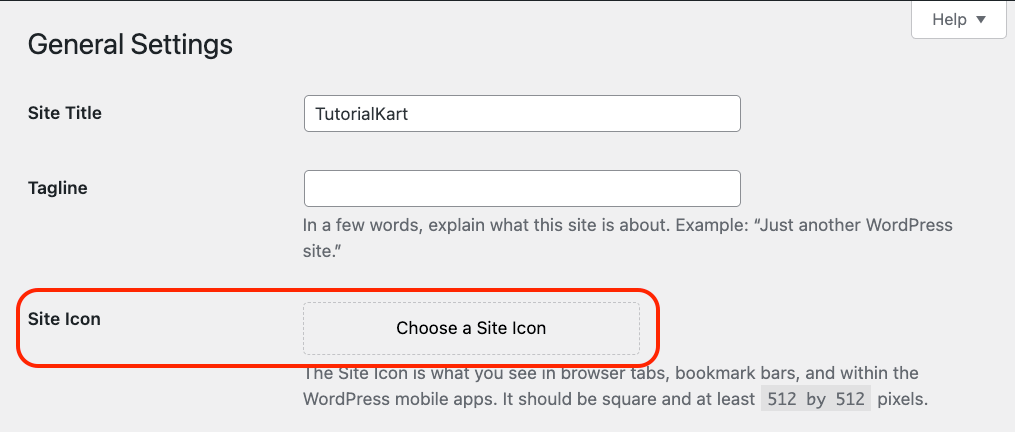
Under the Site Icon section, click the Choose a Site Icon button.
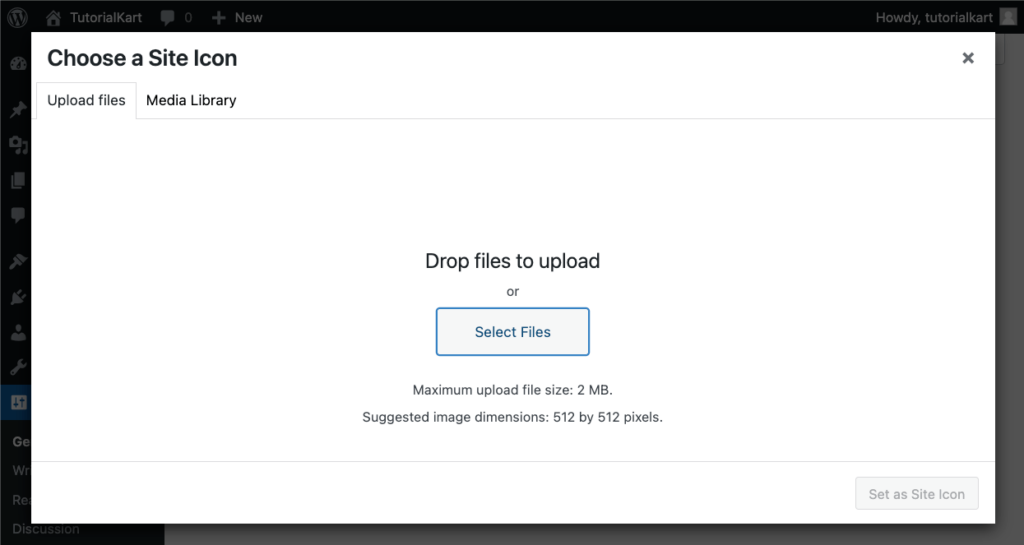
You can either upload a new file, or select a file that is already in the Media Library.
If you want to upload, just drag and drop the image file.
Once uploaded, you can set the image Alt Text, Caption, Description.
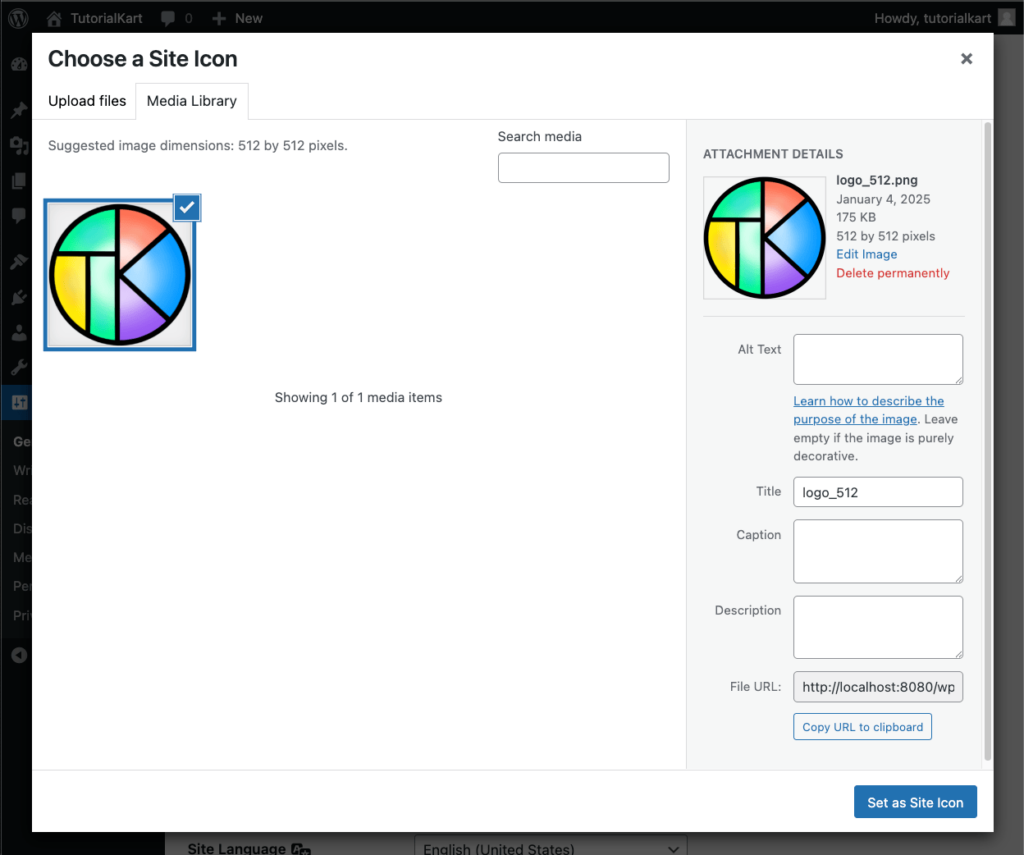
You may leave them as default. But entering at least Alt Text could be helpful for SEO.
Click on the Set as Site Icon button present in the bottom right corner.
Step 5 – Save Changes
After setting the site icon, click the Save Changes button at the bottom of the General Settings.
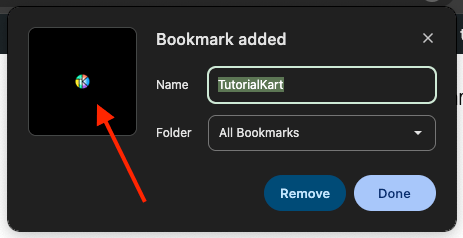
Your new site icon will now appear in browser tabs, bookmark bars, and mobile apps.
Step 6 – Verify the Site Icon
To ensure the changes have taken effect, open your site in a browser and check the tab for the new icon.

You can also bookmark the site or access it via the WordPress mobile app to verify the update.
