Docker with Node.js
Docker is a powerful tool that enables developers to package their applications and dependencies into portable containers. In this tutorial, you’ll learn how to create a simple Node.js application and use Docker to containerize it. By the end, you will know how to run your application in a Docker container.
Prerequisites
- Basic knowledge of Node.js and JavaScript is required.
- Ensure Docker is installed on your machine.
- Make sure Node.js and npm are installed.
- An IDE like Visual Studio Code will be helpful.
Create a Simple Node.js Application
Step 1: Create a new directory for your project and navigate into it:
mkdir node-docker-app && cd node-docker-app
We are going to use this directory for creating our Node.js application, and store the Docker files.
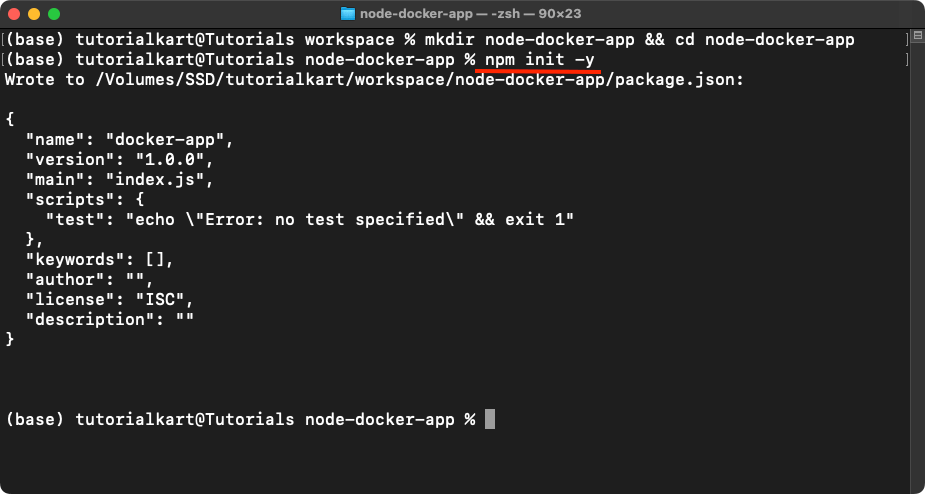
Step 2: Initialize a new Node.js project:
Use the following npm command to initialize the node project.
npm init -yIt would create package.json as shown in the following screenshot.
Step 3: Create a new file named server.js and add the following code:
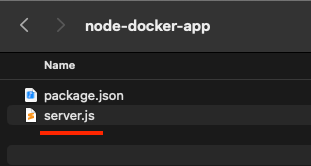
This is going to be our main JavaScript file from which the application is going to start. You can also name it as app.js, or any other name as you require.
server.js
const http = require('http');

const PORT = 3000;

const server = http.createServer((req, res) => {
    res.statusCode = 200;
    res.setHeader('Content-Type', 'text/plain');
    res.end('Hello, Docker with Node.js!');
});

server.listen(PORT, () => {
    console.log(`Server running at http://localhost:${PORT}/`);
});
Step 4: Install the required dependencies:
Run the following npm command to install the Node.js application dependencies.
npm install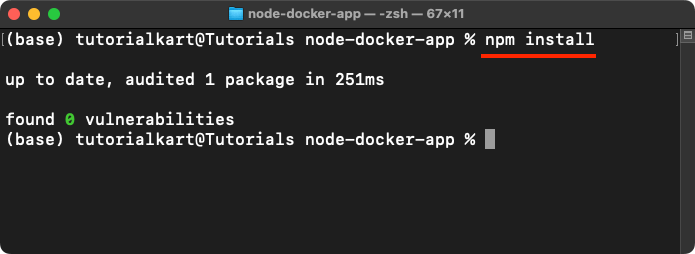
Your Node.js application is now ready!
Dockerize the Node.js Application
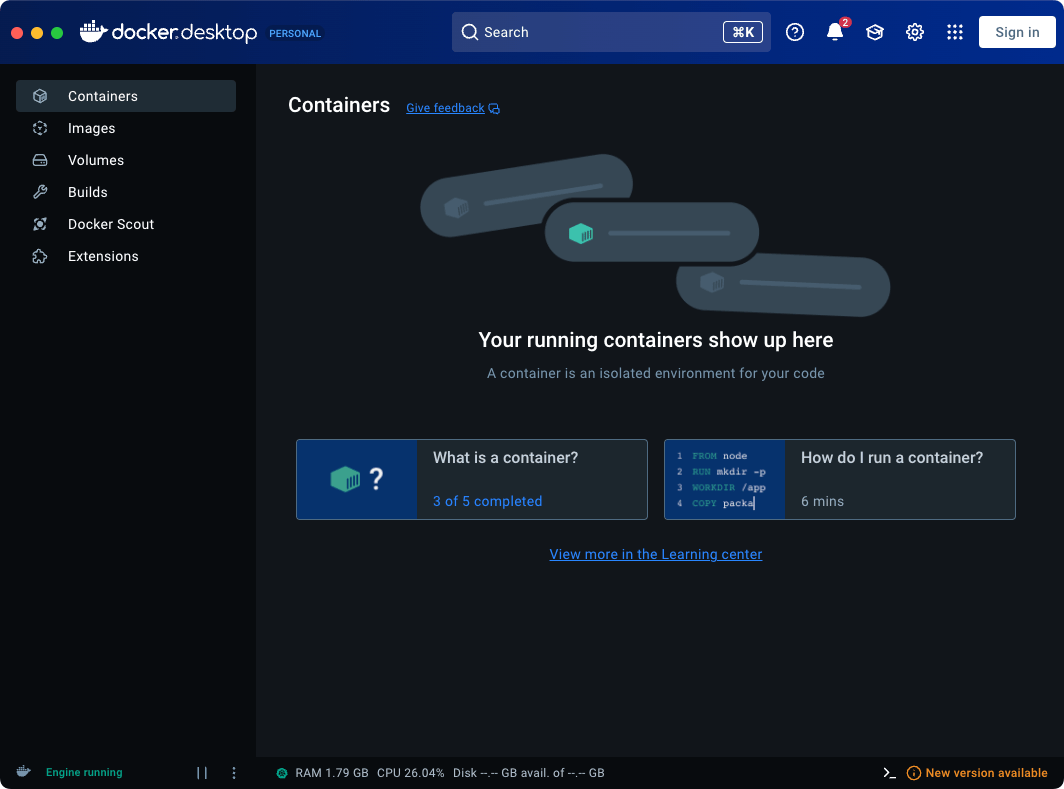
Step 1: Ensure the Docker daemon is running. If Docker is not running, start it by executing the following commands:
On Linux:
sudo systemctl start dockerOn macOS or Windows, start the Docker Desktop application from your applications menu.
You can verify Docker is running by executing the command:
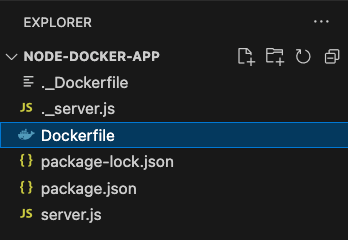
docker infoStep 2: Create a file named Dockerfile in the project directory.
And add the following content:
Dockerfile
# Use the official Node.js image as the base image
FROM node:18

# Set the working directory inside the container
WORKDIR /usr/src/app

# Copy package.json and package-lock.json
COPY package*.json ./

# Install dependencies
RUN npm install

# Copy the rest of the application files
COPY . .

# Expose the application port
EXPOSE 3000

# Command to run the application
CMD ["node", "server.js"]
Explanation of Dockerfile:
FROM node:18
This specifies the base image for the container. It uses the official Node.js image version 18, providing a pre-configured environment for running Node.js applications. To view the list of all supported tags for Node.js, refer the link: https://hub.docker.com/_/node.WORKDIR /usr/src/app
Sets the working directory inside the container to/usr/src/app. All subsequent commands will execute relative to this directory.COPY package*.json ./Copies thepackage.jsonandpackage-lock.jsonfiles from the host machine to the container’s working directory. These files are needed to install dependencies.RUN npm install
Executes thenpm installcommand inside the container to install all dependencies specified inpackage.json.COPY . .
Copies the remaining application files from the host machine to the container’s working directory. This ensures that the container has all the necessary files to run the application.EXPOSE 3000
Informs Docker that the application listens on port 3000. This is used for documentation purposes and does not actually publish the port; that is done with the-poption when running the container.CMD ["node", "server.js"]
Specifies the default command to run when the container starts. It launches the Node.js application by runningserver.js.
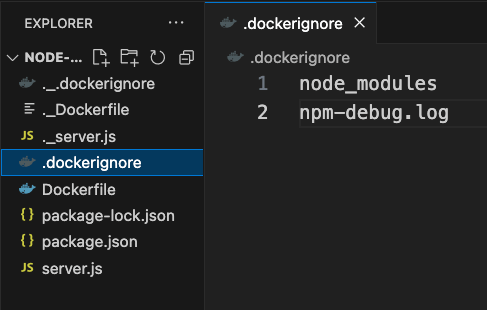
Step 2: Create a .dockerignore file to exclude unnecessary files:
node_modules
npm-debug.log
Explanation: The .dockerignore file plays a crucial role in optimizing and securing Docker builds by specifying which files and directories should be excluded from the Docker build context.
node_modules Prevents copying dependencies that will be re-installed in the container.npm-debug.log Excludes npm logs generated during development.
Note: If you are working on Mac, and if you see ._Dockerfile, or ._ any other file, delete them. Please observe the ._ before the file name. These are the temp files created by the OS.
Step 3: Build the Docker image:
docker build -t node-docker-app .Step 4: Verify the image was created:
docker images
Run the Docker with Node.js
Step 1: Run the container:
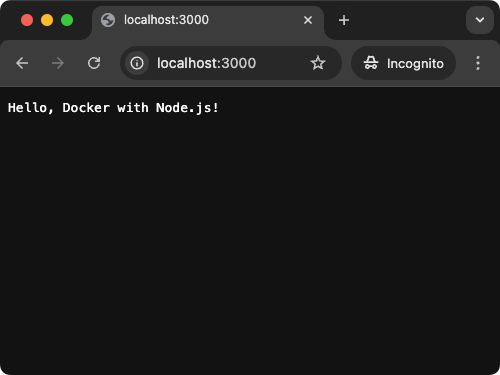
docker run -p 3000:3000 node-docker-appStep 2: Open your browser and visit http://localhost:3000. You should see the message Hello, Docker with Node.js!.
Step 3: To stop the container, press Ctrl+C in the terminal. Or you can go to the Docker Desktop, Containers section, and stop it there as shown in the following video.
Conclusion
In this tutorial, you learned how to create a simple Node.js application, write a Dockerfile to containerize the application, build a Docker image, and run the application in a Docker container.