How to Create an Entity in Microsoft CRM
Create an Entity in Microsoft CRM: An entity in Microsoft CRM is a data structure used to store business records. It is similar to a database table: the entity stores records, and each attribute or field stores a specific item of data for those records. For example, Account, Contact, Lead, Opportunity, Product, and Case are common CRM entities.
In Microsoft Dynamics CRM and Dynamics 365 Customer Engagement, entities are commonly grouped as system entities, business entities, and custom entities. A custom entity is created when the standard CRM entities do not fully match a business requirement. In newer Microsoft Power Platform terminology, many entity concepts are now referred to as Dataverse tables, but this tutorial follows the classic Microsoft CRM customization screen where the term Entity in Microsoft CRM is used.
We can create new entities for your Microsoft Dynamics 365 implementation to address specific business requirements. After you create a custom entity, additional tasks are required to ensure that the entity is accessible to your users.
When to Create a Custom Entity in Microsoft Dynamics CRM
Create a custom entity only when the information cannot be handled cleanly by an existing CRM entity. For example, if a business needs to track Employers, Memberships, Assets, Training Requests, or Vendor Evaluations as separate record types, a custom entity may be suitable.
- Use an existing entity when the required data belongs naturally to Account, Contact, Lead, Opportunity, Case, Product, or another standard entity.
- Create a custom entity when the data has its own lifecycle, ownership, forms, views, security rules, and relationships.
- Avoid creating unnecessary custom entities only to store a few additional fields. In that case, adding fields to an existing entity may be simpler.
- Plan relationships before creating the entity, especially if the records must be linked to Accounts, Contacts, Users, or other custom entities.
Important Custom Entity Settings Before You Save
Some entity settings can be difficult or impossible to change after the entity is created. Review these settings carefully before saving the custom entity.
| Setting | What it Controls | Planning Note |
|---|---|---|
| Display Name | The singular label users see in Microsoft CRM. | Use a clear business name, such as Employer. |
| Plural Name | The plural label used in navigation and views. | Use a natural plural, such as Employers. |
| Name | The schema/logical name generated using the solution publisher prefix. | Review it before saving because it is used in customizations and integrations. |
| Ownership | Whether records are owned by users/teams or by the organization. | Select User or Team when record-level ownership and security are required. |
| Areas that display this entity | Where the entity appears in the CRM user interface. | Select only the areas where users should access the entity. |
| Primary field | The main name field used to identify each record. | Use a label that helps users recognize the record easily. |
Steps to Create Custom Entity in Microsoft CRM
The following steps show how to create a custom entity in the classic Microsoft CRM customization area. In this example, the custom entity is called Employer.
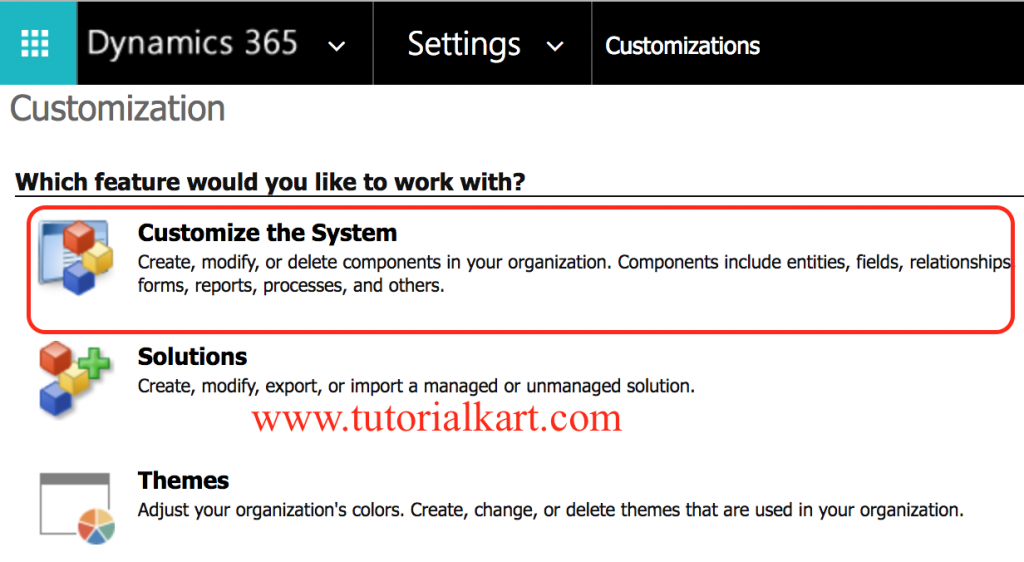
- Navigate to Settings | Customizations.
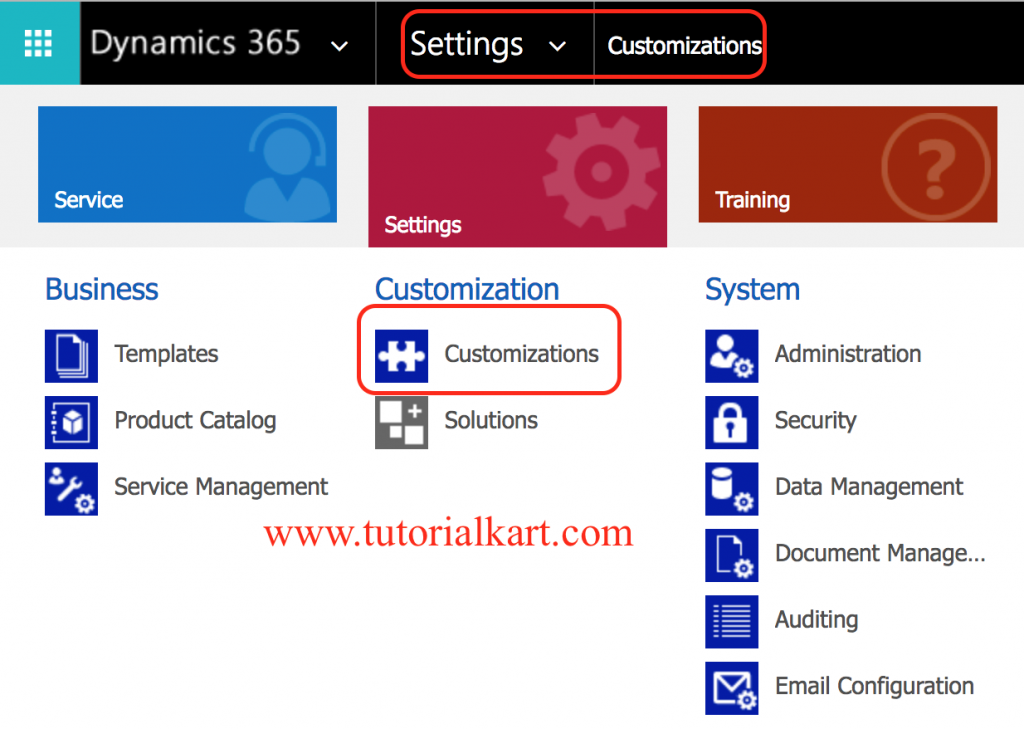
- Now click on click the customize the system.
You can create the entity in the default solution or in a specific unmanaged solution. For better lifecycle management, create it inside the solution that belongs to your project or implementation package.
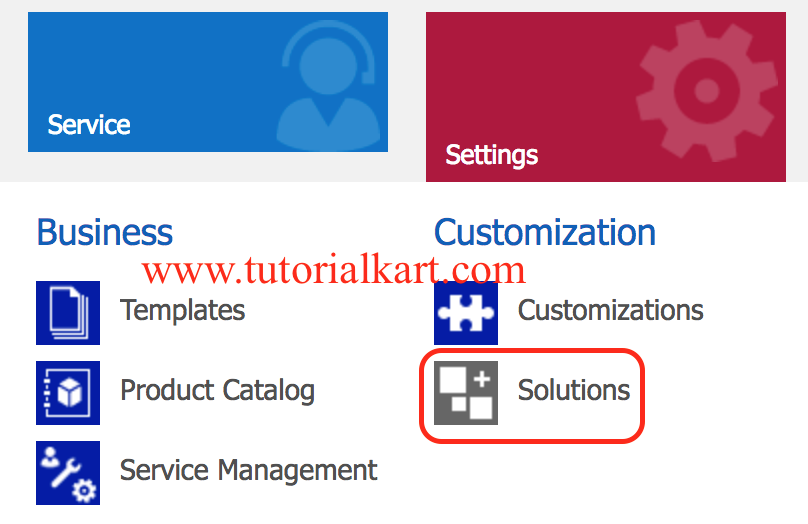
- Now a list of all solution (managed and unmanaged solutions) that are available in Microsoft 365 available.
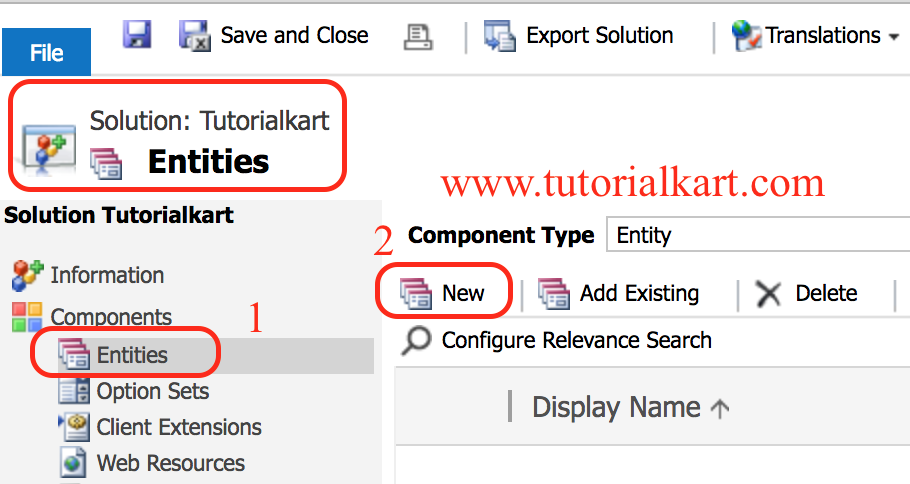
- Select tutorialkart solution to create an entity.

- Click on Entities, then on the command bar, click New as shown below.
- Enter the Display Name and Plural Name that will be used for this entity throughout Microsoft Dynamics 365.
- In name box, change the default name and the name field will not be changed.
The Display Name is the label shown to users. The Name field is the internal schema name and usually includes the solution publisher prefix. Check the Name field carefully before saving, because it is used by customizations, integrations, workflows, and code.

- In the Ownership list, select one of the following:
- User or Team. Records for this entity can be owned by individual users or by teams. Security can be defined according to the business unit with which the current owner is associated. For example, contact records are set to User or Team.
- Organization. Records for this entity are used for reference by all Microsoft Dynamics 365 users. Individual users or teams can’t own these records. For example, product records are set to Organization.
- Under Areas that display this entity, select the areas where this entity will be displayed in the Microsoft Dynamics 365 user interface.
- Finally click on Save button.
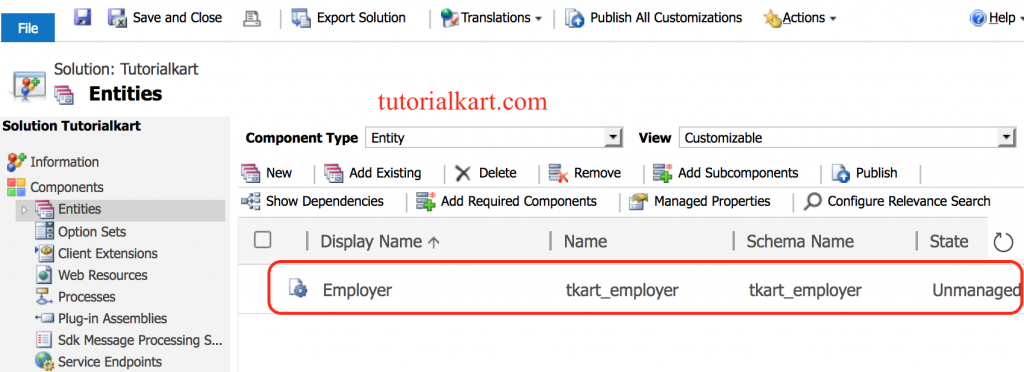
We have successfully created custom entity called “Employer” in tutorialkart solution.
What to Configure After Creating a Microsoft CRM Custom Entity
Creating the entity is only the first part of the customization. To make the custom entity useful for business users, complete the supporting configuration after the entity is saved.
- Add fields: Create the attributes needed to store business data, such as text, number, date, lookup, option set, currency, or two-option fields.
- Design forms: Add the required fields to the main form and arrange them into tabs and sections that match the user process.
- Create views: Configure public views so users can find and filter records easily.
- Set relationships: Create one-to-many, many-to-one, or many-to-many relationships with other entities when records must be linked.
- Update security roles: Give users the correct create, read, write, delete, append, append to, assign, and share permissions for the custom entity.
- Add to navigation: Make sure the entity appears in the required application area or sitemap location.
- Publish customizations: Publish changes so the entity, fields, forms, views, and icons become available to users.
User or Team Ownership vs Organization Ownership in CRM Entities
The ownership setting affects security and record access. Select User or Team when records must belong to a specific user or team and access should depend on business units and security roles. Select Organization when the records are shared reference data used across the organization and do not need individual ownership.
For example, a custom Employer entity may use User or Team ownership if sales or service teams manage separate employer records. A reference list, such as a small category master, may use Organization ownership if all users should work with the same shared records.
How to Change Custom Entity Icons in Microsoft CRM
When you create a custom entity, it is automatically assigned a default icon, and all custom entities by default use the same icon. If your organization has several custom entities, it can be helpful to change the icon associated with one or more custom entities to help users differentiate them. To change custom entity Icons, follow the steps given below.
You can upload two types of entity icons for each custom entity:
- Icon in web application. This icon should be:
- 16 x 16 pixels in size.
- In .gif, .png, or .jpg format.
- No larger than 10 kilobytes.
- Icon for entity forms. This icon should be:
- 32 x 32 pixels in size.
- 16 colors.
- In .ico format.
- No larger than 10 kilobytes.
Now navigate to Settings | Customize | Customize the settings.
- Expand Entities and click on Update Icons as shown below.
In the Select New Icons dialog box, under Icon in Web application or Icon for Entity Forms, to the right of New Icon, click the Browse button  , select the appropriate image file, and then click OK
- Click on Ok button and Save the changes.
- Now we have to publish all customizations, click on Publish All Customizations.
We have successfully changed Icons for custom entity.
Custom Entity Creation Checklist for Microsoft CRM Editors
- Confirm that the entity is really needed and that an existing CRM entity cannot handle the requirement with added fields.
- Check the Display Name, Plural Name, and schema Name before saving the custom entity.
- Verify the ownership model because it affects security and record access.
- Confirm that the entity is created inside the correct unmanaged solution for deployment.
- Make sure forms, views, fields, relationships, security roles, navigation, and publishing are completed after the entity is created.
- Test the custom entity with a user account that has the intended security role, not only with a system administrator account.
Common Issues While Creating a Custom Entity in Microsoft CRM
| Issue | Likely Reason | What to Check |
|---|---|---|
| Users cannot see the new entity | Security role or navigation is not updated | Check entity permissions and whether the entity is added to the required app area. |
| New fields are not visible on the form | Fields were created but not added to the form | Open the entity form editor, add the fields, save, and publish. |
| Entity changes are not appearing | Customizations are not published | Use Publish All Customizations after saving entity changes. |
| Wrong internal name is generated | The Name field was not reviewed before saving | Check the publisher prefix and schema name before the first save. |
| Records cannot be assigned to users | Entity ownership is set to Organization | Use User or Team ownership when individual ownership and assignment are required. |
FAQs on Creating an Entity in Microsoft CRM
What is an entity in Microsoft Dynamics CRM?
An entity in Microsoft Dynamics CRM is a structure used to store business records, similar to a database table. Each entity has fields, also called attributes, that store specific data values for each record.
How do I create a new entity in Microsoft CRM?
Go to Settings > Customizations, open Customize the System or your project solution, select Entities, and choose New. Enter the display name, plural name, ownership type, and display areas, then save and publish the customization.
Should I create a custom entity or add fields to an existing entity?
Create a custom entity when the data has its own records, forms, views, relationships, security needs, and business process. Add fields to an existing entity when the information is only an extra detail of an existing record type.
What is the difference between User or Team ownership and Organization ownership?
User or Team ownership allows records to be owned by individual users or teams and controlled through security roles and business units. Organization ownership is used for shared reference records that do not need individual ownership.
Why is my custom entity not visible to users after creation?
The entity may not be published, may not be added to the app navigation, or users may not have security role permissions for the entity. Check publishing, sitemap or app area settings, and security roles.
Conclusion: Creating Custom Entities in Microsoft CRM
In this Microsoft CRM tutorial, we have learned how to create an Entity in Microsoft CRM and how to change custom entity Icons. A custom entity should be planned with the correct name, ownership, fields, forms, views, relationships, security roles, and navigation settings. In our next Microsoft CRM tutorial, we will learn about how to create a record in Dynamics 365.