Python Tkinter Checkbutton Widget
Tkinter Entry widget allows user to input a single line of text via GUI application.
In this tutorial, we will learn how to create an Entry widget and how to use it read a string from user.
Checkbutton is also called Checkbox in generic terms of GUI.
Create Tkinter Checkbutton Widget
To create a Checkbutton widget in your Python GUI application, use the following syntax,
widget = tk.Checkbutton(parent, option, ...)where parent is the root window or a frame in which we would like to pack this Checkbutton widget. You can provide one or more options supported for Checkbutton widget to change its appearance and behavior.
Read Checkbutton selection
To read if a Checkbutton is selected or not, follow these steps.
1. Create a variable to hold the status of the Checkbutton.
check_1 = tkinter.IntVar()2. You need to create a variable and assign it with tkinter.IntVar(). We will bind this variable to the Checkbutton and thus this variable will hold the value that determines if the Checkbutton is checked or not, in runtime.
Create Checkbutton.
check_but_1 = tkinter.Checkbutton(window_main, text = 'Some Text', variable = check_1)tkinter.Checkbutton() class creates a Checkbutton widget.
3. Read the value of Checkbutton.
check_1.get()
tkinter.IntVar().get() returns the onvalue or ofvalue of the Checkbutton, based on the status.
You can either assign a function to command option of Checkbutton, and read the status of Checkbutton as and when the button is checked or not. Or, you can read the status of Checkbutton when user performs some other action like button click, etc.
Example 1 – Tkinter Checkbutton
In the following GUI application, we will create three Checkbuttons and listen if the user has selected or unselected the Checkbutton.
example.py – Python Program
import tkinter

window_main = tkinter.Tk(className='Tkinter - TutorialKart', )
window_main.geometry("450x250")

check_1 = tkinter.IntVar()
check_2 = tkinter.IntVar()
check_3 = tkinter.IntVar()

def check1Clicked():
    if check_1.get() :
        print('Checkbox 1 selected')
    else :
        print('Checkbox 1 unselected')

def check2Clicked():
    if check_2.get() :
        print('Checkbox 2 selected')
    else :
        print('Checkbox 2 unselected')

def check3Clicked():
    if check_3.get() :
        print('Checkbox 3 selected')
    else :
        print('Checkbox 3 unselected')

check_but_1 = tkinter.Checkbutton(window_main, text = 'Listening to Music', variable = check_1,
                onvalue = 1, offvalue = 0, command=check1Clicked)
check_but_1.pack()

check_but_2 = tkinter.Checkbutton(window_main, text = 'Reading Books', variable = check_2,
                onvalue = 1, offvalue = 0, command=check2Clicked)
check_but_2.pack()

check_but_3 = tkinter.Checkbutton(window_main, text = 'Watching Movies', variable = check_3,
                onvalue = 1, offvalue = 0, command=check3Clicked)
check_but_3.pack()

window_main.mainloop()
Output
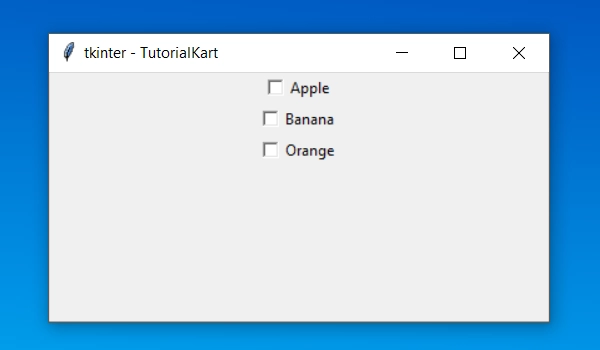
When you run the above program, python will display a window as shown in the following.
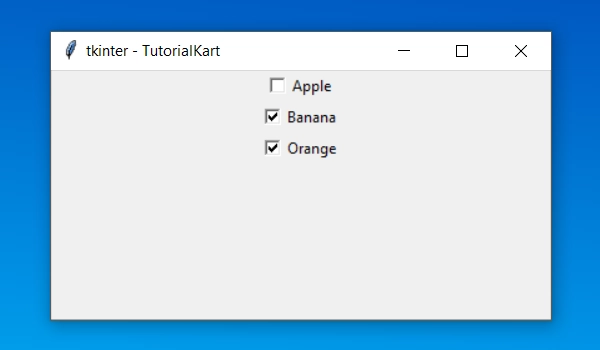
Now, you can click and check one or more of these Checkbuttons.
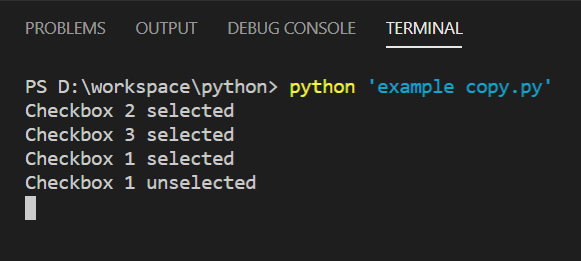
When you select or unselect each of these Checkbuttons, the command function corresponding to the respective Checkbutton will be executed.
Conclusion
In this Python Tutorial, we learned how to create a Checkbutton widget in our GUI application, and how to get if the Checkbutton is selected or not, with the help of example programs.