SwiftUI TextField
SwiftUI TextField is a control that displays an editable text interface in Application UI. The TextField is used to read text from user.
Example TextField
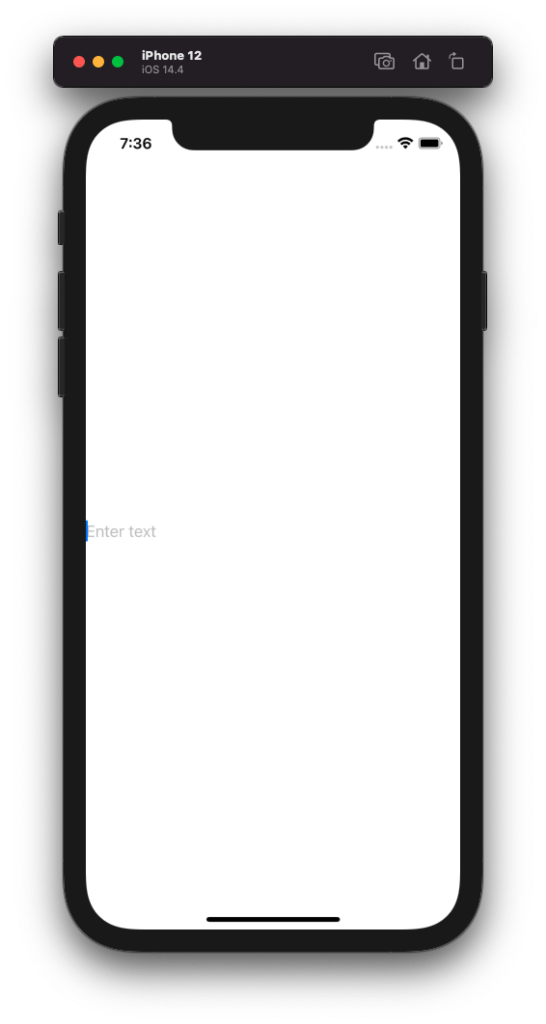
The following code snippet is a simple example to create a SwiftUI TextField control.
ContentView.swift
import SwiftUI

struct ContentView: View {
    @State private var username: String = ""

    var body: some View {
        TextField(
            "Enter text",
            text: $username)
    }
}
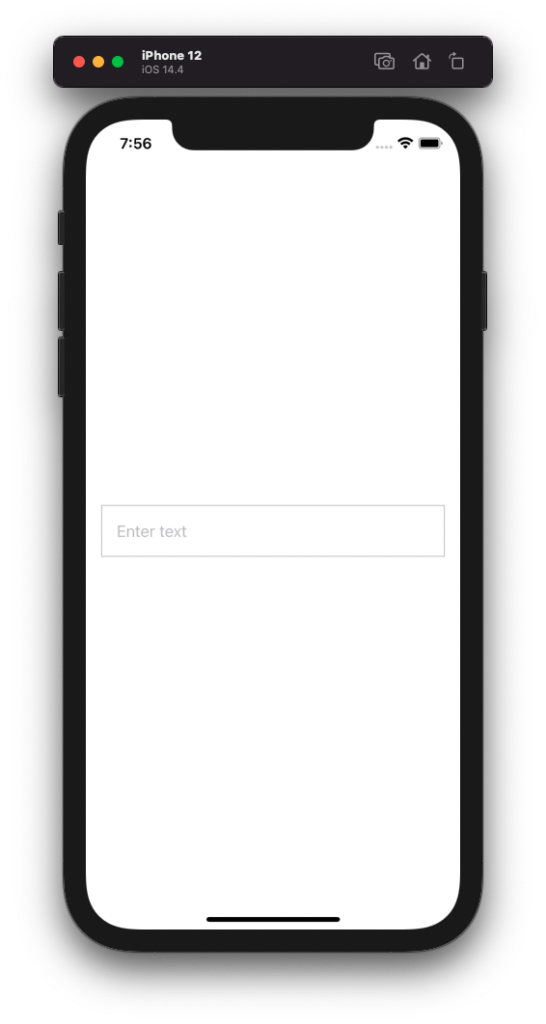
TextField Border
Now, let us provide some border to this TextField, so that we can see the boundaries of it. Use border() modifier to set border for TextField.
ContentView.swift
import SwiftUI

struct ContentView: View {
    @State private var username: String = ""

    var body: some View {
        TextField(
            "Enter text",
            text: $username)
            .border(Color(UIColor.separator))
    }
}
TextField Padding
TextField and the border look clumsy. Let us give some padding to the TextField. Use padding() modifier to set padding for TextField.
ContentView.swift
import SwiftUI

struct ContentView: View {
    @State private var username: String = ""

    var body: some View {
        TextField(
            "Enter text",
            text: $username)
            .padding(.all)
            .border(Color(UIColor.separator))
    }
}
Make sure to call the padding() modifier prior to border() modifier. Only then, padding is applied first, and then the border is drawn.
Note: Modifiers are applied in the same order as they are called on the TextField.

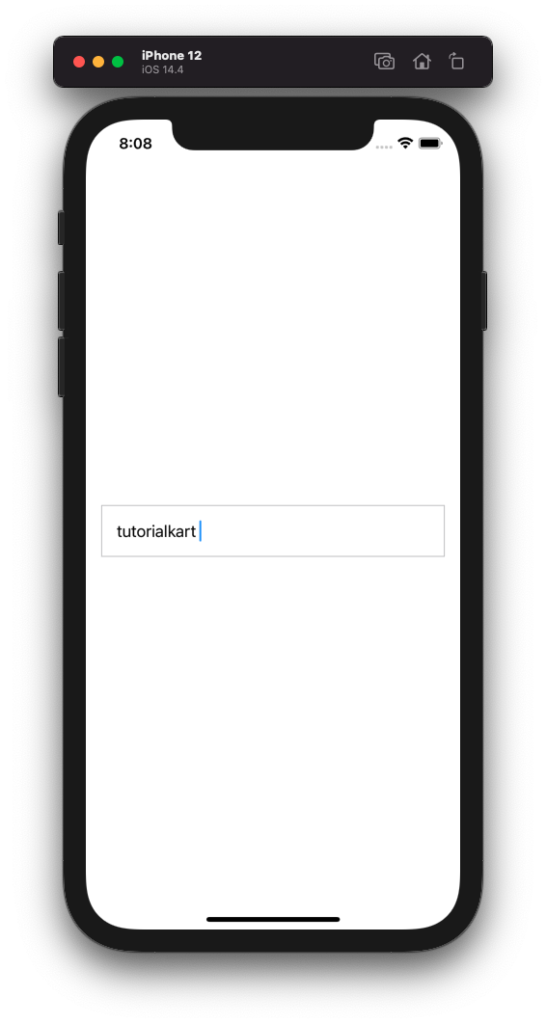
Now, let us apply some padding to the left and right edges of this TextField.
ContentView.swift
import SwiftUI

struct ContentView: View {
    @State private var username: String = ""

    var body: some View {
        TextField(
            "Enter text",
            text: $username)
            .padding(.all)
            .border(Color(UIColor.separator))
            .padding(.leading)
            .padding(.trailing)
    }
}
TextField – Diable Autocorrection
By default, the text entered in TextField control is subject to autocorrection. Autocorrection may even try to correct the text.
To disable autocorrection, apply disableAutocorrection() modifier on the TextField control.
ContentView.swift
import SwiftUI

struct ContentView: View {
    @State private var username: String = ""

    var body: some View {
        TextField(
            "Enter text",
            text: $username)
            .disableAutocorrection(true)
            .padding(.all)
            .border(Color(UIColor.separator))
            .padding(.leading)
            .padding(.trailing)
    }
}
TextField – Diable Autocapitalisation
By default, the text entered in TextField control is subject to Autocapitalisation. To disable Autocapitalisation, apply autocapitalisation() modifier to the TextField control.
ContentView.swift
import SwiftUI

struct ContentView: View {
    @State private var username: String = ""

    var body: some View {
        TextField(
            "Enter text",
            text: $username)
            .autocapitalization(.none)
            .disableAutocorrection(true)
            .padding(.all)
            .border(Color(UIColor.separator))
            .padding(.leading)
            .padding(.trailing)
    }
}
TextField – Access Value
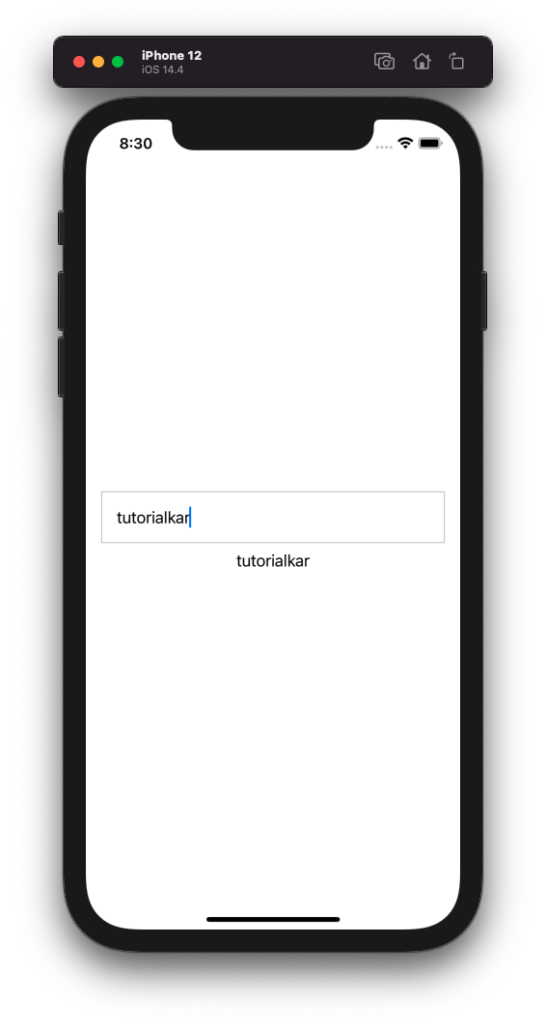
The value entered in the TextField can be accessed using the state variable that we assigned to the text property of the TextField.
Let us display the value entered in the TextField in a Text view.
ContentView.swift
import SwiftUI

struct ContentView: View {
    @State private var username: String = ""

    var body: some View {
        TextField(
            "Enter text",
            text: $username)
            .autocapitalization(.none)
            .disableAutocorrection(true)
            .padding(.all)
            .border(Color(UIColor.separator))
            .padding(.leading)
            .padding(.trailing)
        Text(username)
    }
}
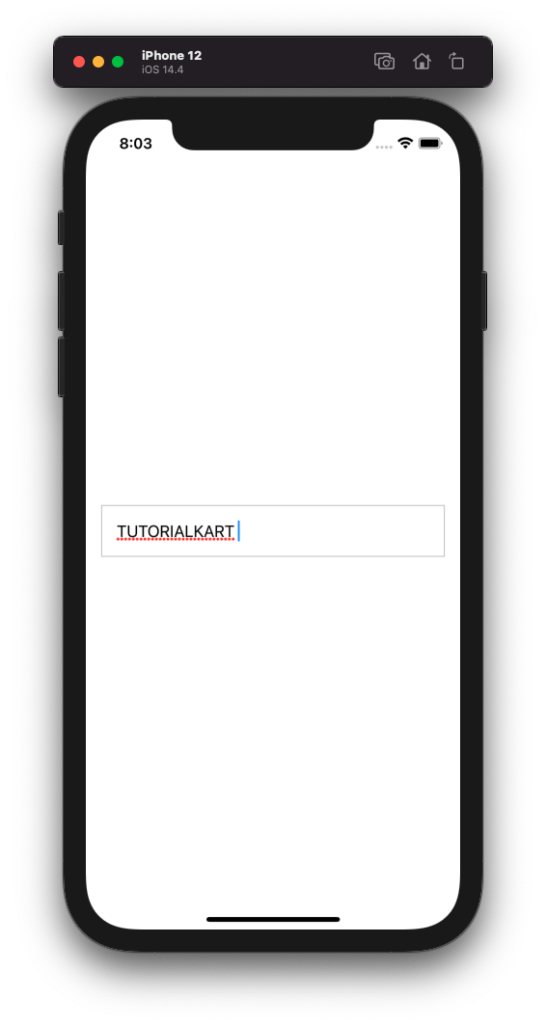
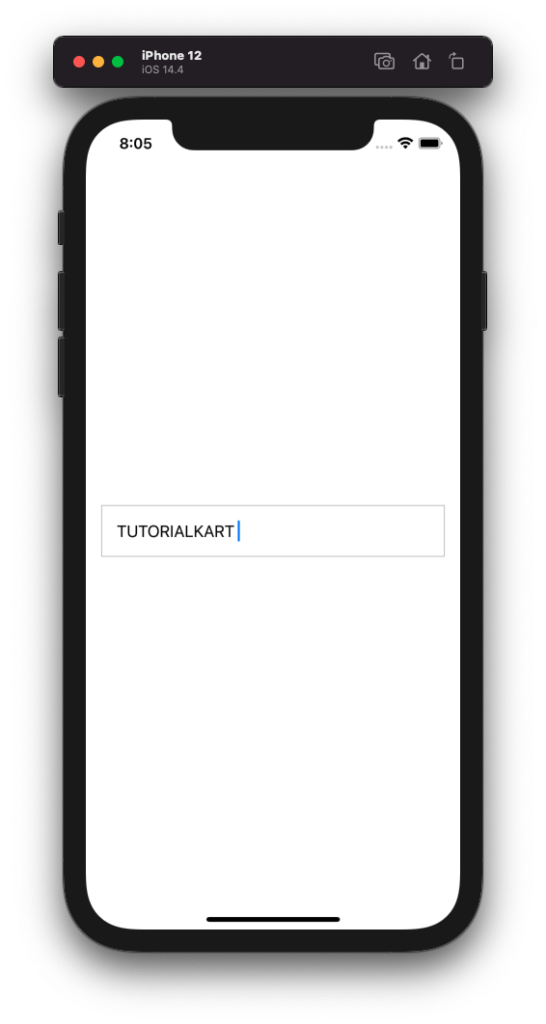
TextField – isEditing
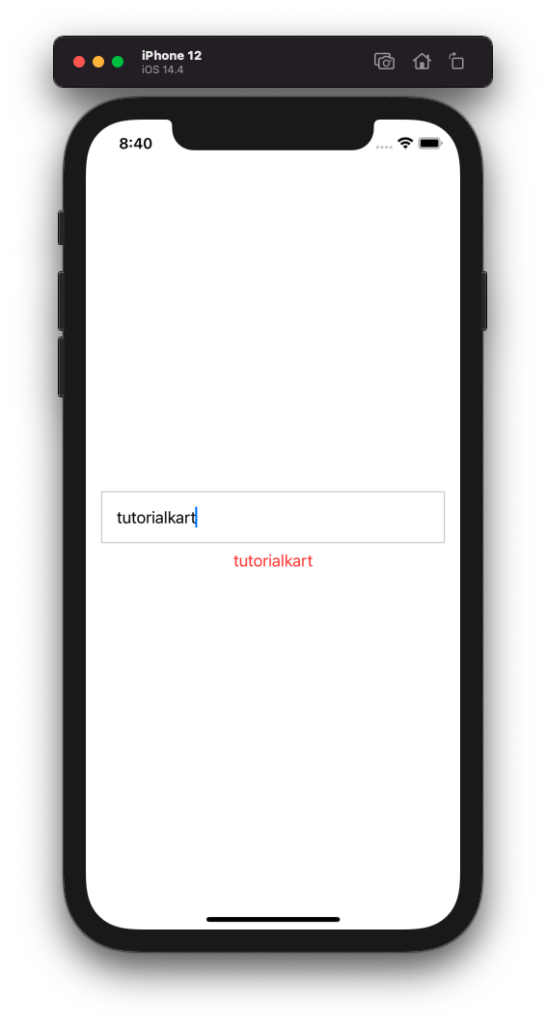
To let the user know that he/she is editing the value in the TextField control, we can change color of the Text using the state variable isEditing. We will set this isEditing boolean value based on the isEditing in (line#11). Based on this isEditing flag, we can conditionally set the foreground color of the Text view (line#22).
ContentView.swift
import SwiftUI
struct ContentView: View {
@State private var username: String = ""
@State private var isEditing = false
var body: some View {
TextField(
"Enter text",
text: $username
) { isEditing in
self.isEditing = isEditing
}
.autocapitalization(.none)
.disableAutocorrection(true)
.padding(.all)
.border(Color(UIColor.separator))
.padding(.leading)
.padding(.trailing)
Text(username)
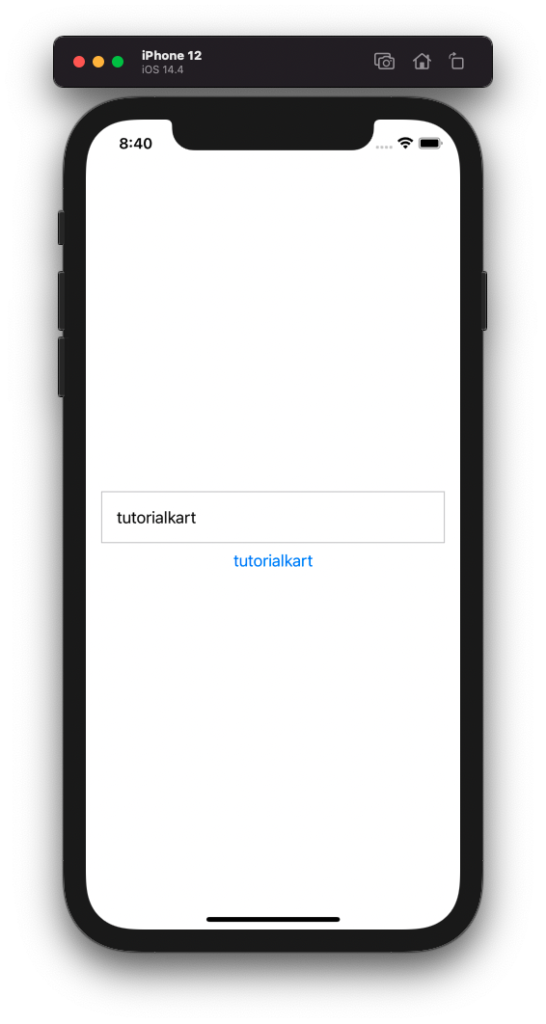
.foregroundColor(isEditing ? .red : .blue)
}
}When the user is editing the TextField, the color of Text view is set to red.
When the user is editing the TextField, the color of Text view is set to blue.
Conclusion
In this SwiftUI Tutorial, we learned what TextField control is in SwiftUI, how to style TextField, and how to access the value entered in TextField, with examples.