In our previous Azure tutorial, we learned how to create an empty Azure web app. In this Azure tutorial, we shall create a WordPress website using Azure Marketplace template. Azure Marketplace provides ready-to-use application templates for common web applications and content management systems such as WordPress, Drupal, and other PHP-based solutions.
WordPress on Azure is usually deployed as an Azure App Service web app with a database service such as Azure Database for MySQL. This approach is useful when you want WordPress to run on Azure-managed hosting instead of manually configuring a virtual machine, web server, PHP runtime, and database from scratch.
Creating WordPress website using Azure Marketplace template
Creating WordPress Website using Azure Marketplace template is the second method of creating Azure Web apps. WordPress is a popular Content Management System based on PHP and MySQL. In this tutorial, we shall create a WordPress site from the Azure portal, choose the required App Service and database options, deploy the site, and complete the WordPress installation wizard.
Azure WordPress website prerequisites before using Marketplace
Before starting the WordPress Marketplace deployment, keep the following details ready.
- An active Azure subscription.
- A unique web app name. This name is used in the default Azure website URL.
- A resource group name for keeping the WordPress app and related services together.
- An Azure region close to your expected visitors.
- A database choice, usually Azure Database for MySQL for a managed database setup.
- A WordPress administrator username, password, site title, and email address for the final WordPress installation step.
The Azure portal screens may change over time, but the main flow remains the same: open Azure Marketplace, search for WordPress, configure the web app and database, deploy the resources, and then finish the WordPress setup in the browser.
Steps to create WordPress website in Azure Marketplace
To create WordPress Website using Azure Marketplace template, Click on New button as shown below.
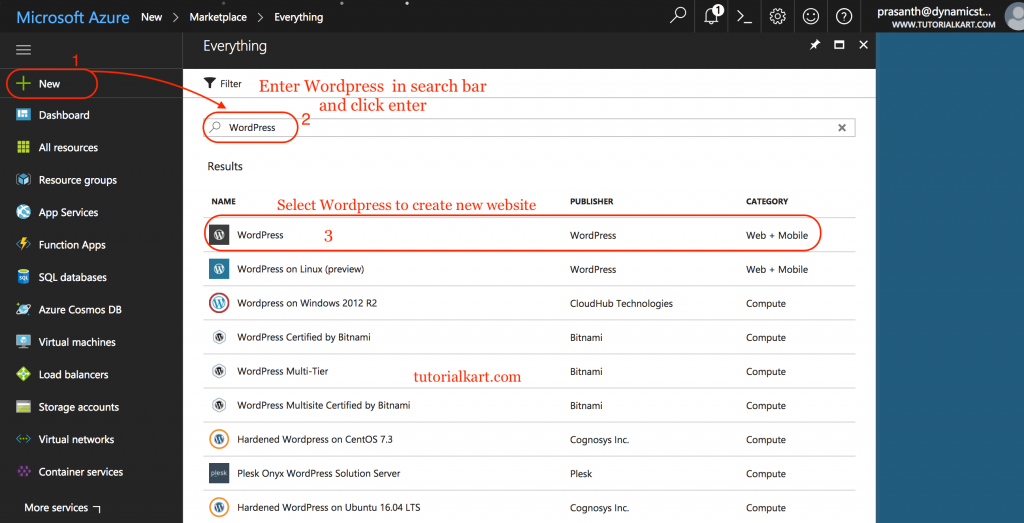
- Now Azure marketplace page will be opened and go to search box and enter wordpress keyword.
- Click on WordPress as shown above.
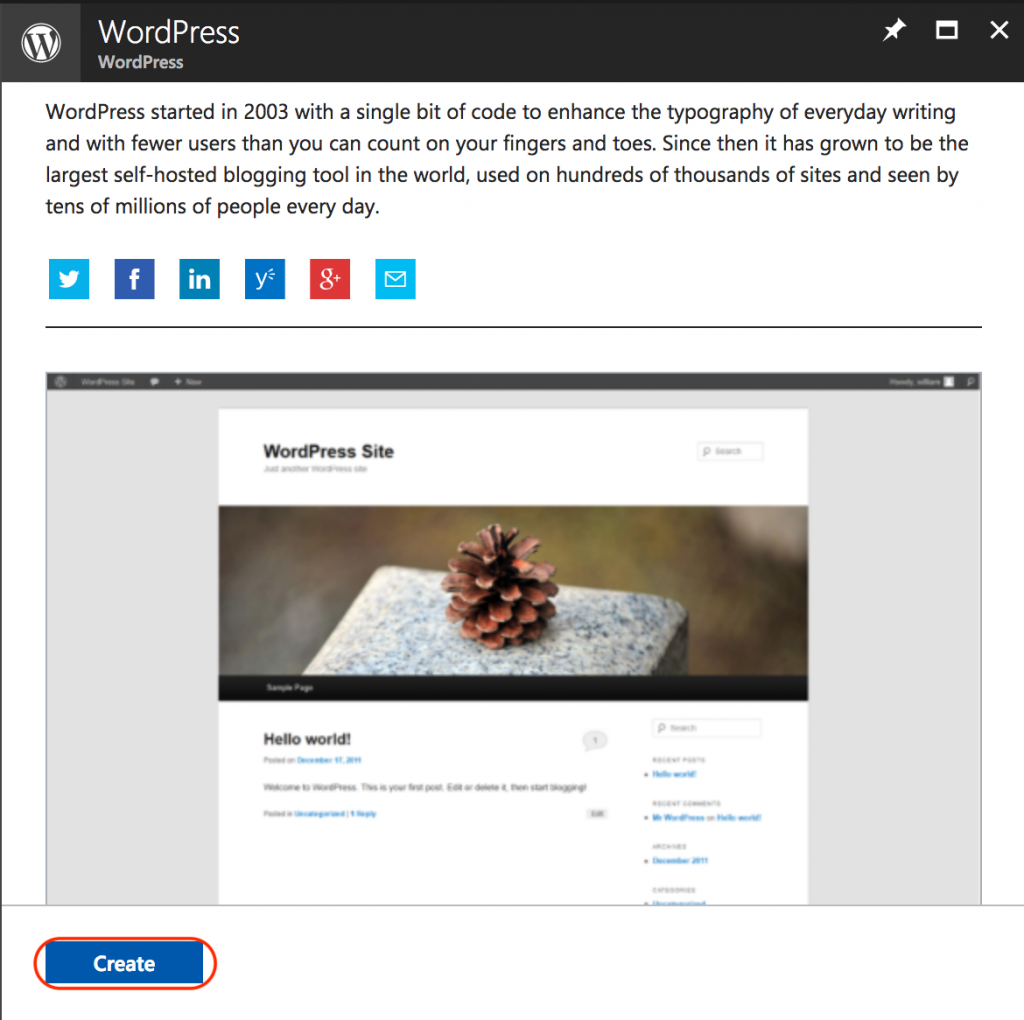
- Click on Create button.
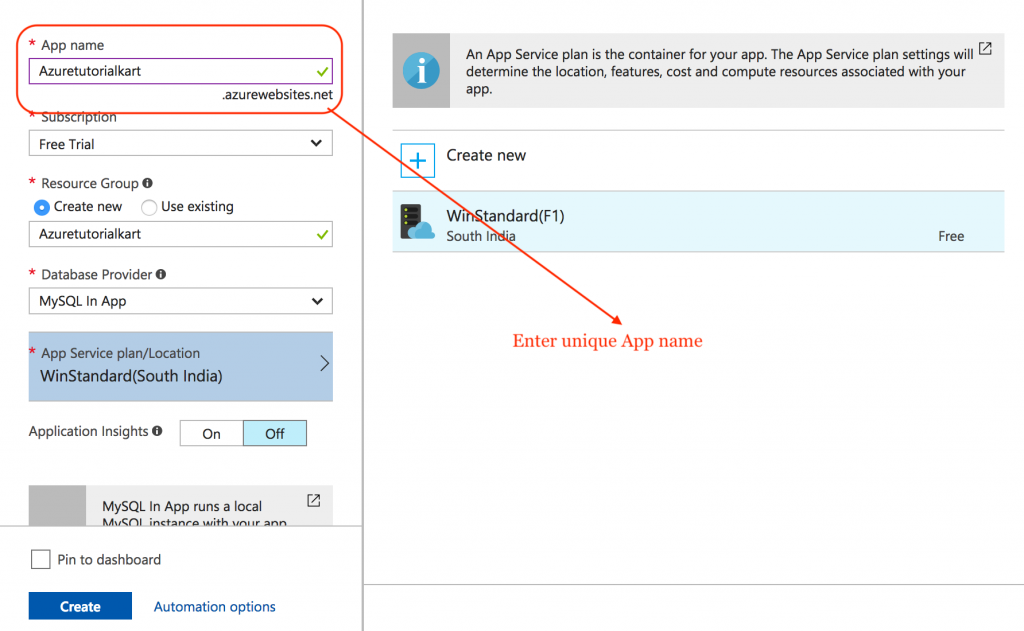
- Enter unique WordPress website URL name as previously discussed.
- Select Subscription.
The website name must be unique because Azure uses it to create the default site address. Use a name that is short, readable, and connected to your site or project. You can later map a custom domain from the App Service settings if you do not want to use the default Azure URL.
- Select existing resource group or select create new to use new Resource group for this WordPress website.
- Now choose database provider. If we click on database provider dropdown we find three database they are Azure Database for MySQL, MySQL in App and ClearDB. Choose any one from the list.
- Select App service plan or create new if you desire.
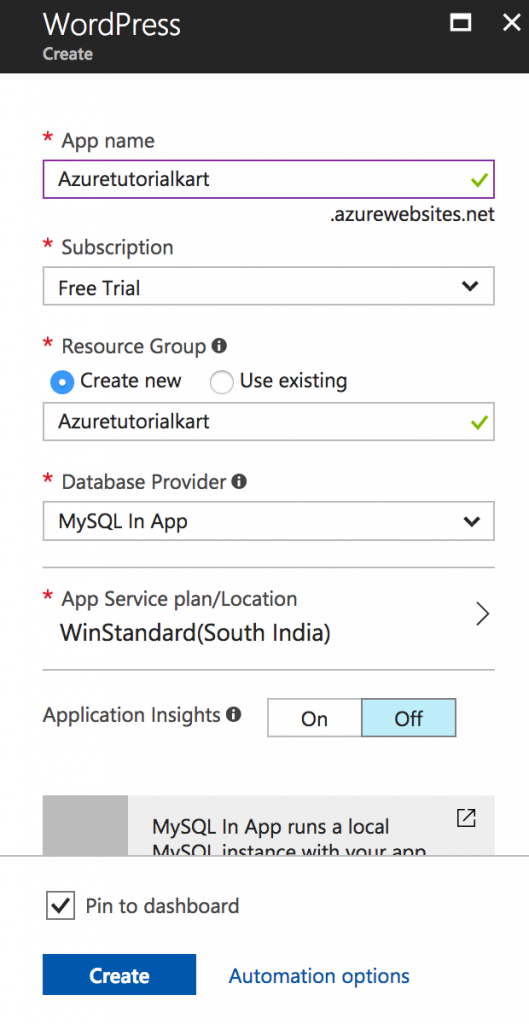
- Finally click on Create button to create WordPress Website using Azure marketplace template.
For a normal production WordPress site, prefer a managed database option instead of storing the database inside the web app. A managed MySQL database is easier to back up, monitor, scale, and maintain separately from the App Service. For a quick test or learning deployment, a smaller App Service plan and lower-cost database configuration may be enough.
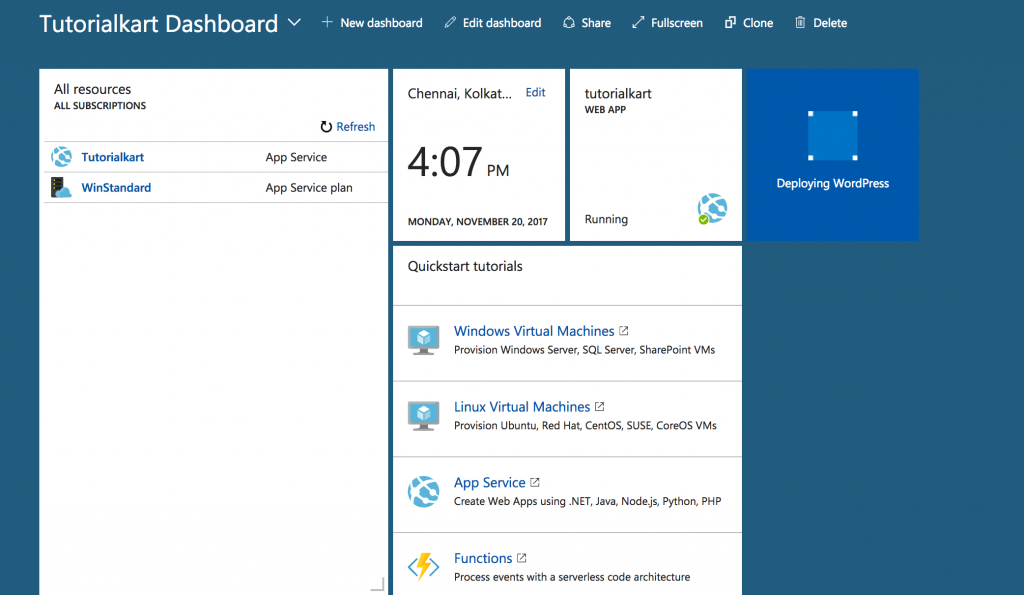
- Now our WordPress website deployment is in progress, wait till it shows notification as Deployment succeeded as shown below.
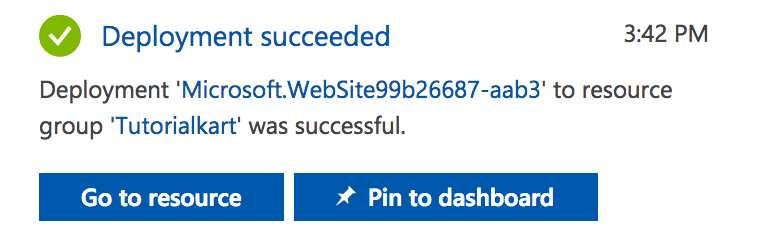
- Click on Pin to dashboard.
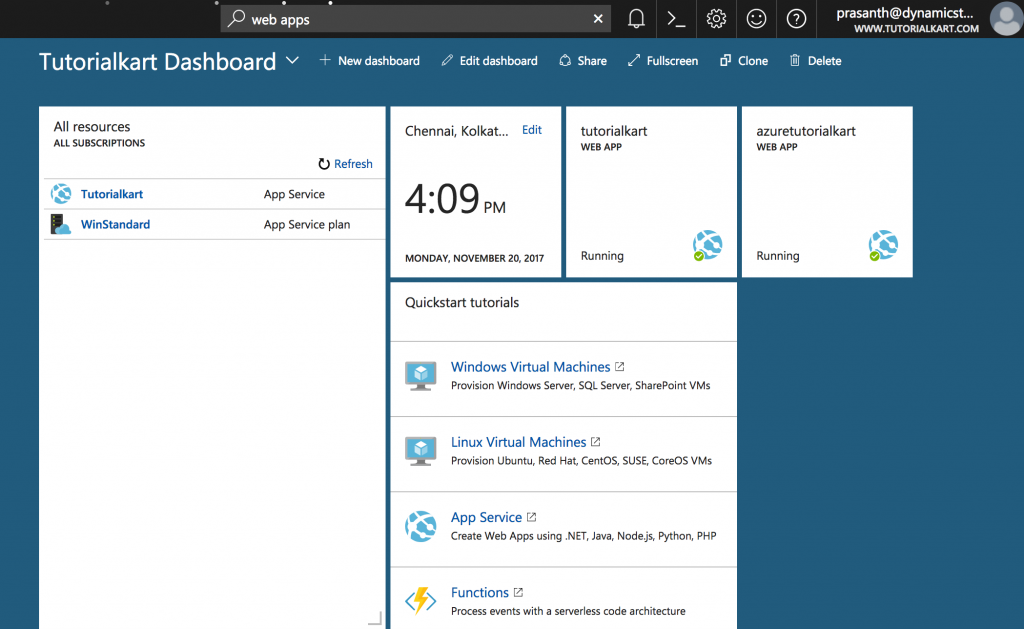
Now our Wordpress Website (Azuretutorialkart) has been created successfully as shown above.
Review the deployed Azure App Service for WordPress
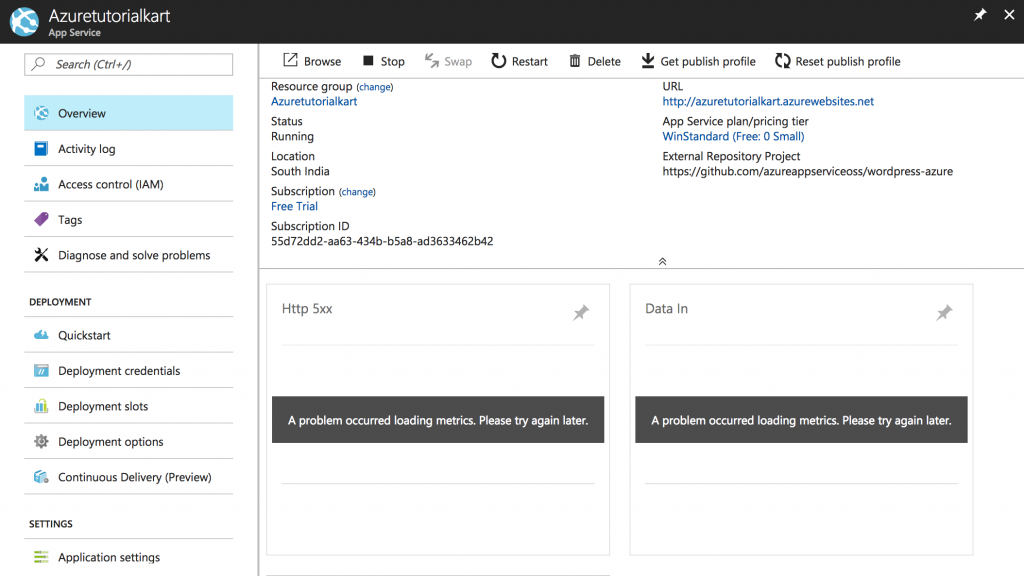
After deployment, open the new App Service resource from the Azure portal. The overview page shows the app URL, resource group, status, location, subscription, and App Service plan. This is also the page where you can stop, restart, browse, or delete the web app.
If the deployment has not completed, wait for the portal notification to show that the deployment succeeded. If the site does not open immediately, allow a short time for the web app and database connection to initialize.
Installing WordPress after Azure Marketplace deployment
After creating wordpress website using Azure marketplace template. Click on the web app and App Service page will contain main options like Browse, stop, Restart, Delete, Get publish profile and reset publish profile as shown below.
- Click on Browse and the wordpress Installation page will be opened.
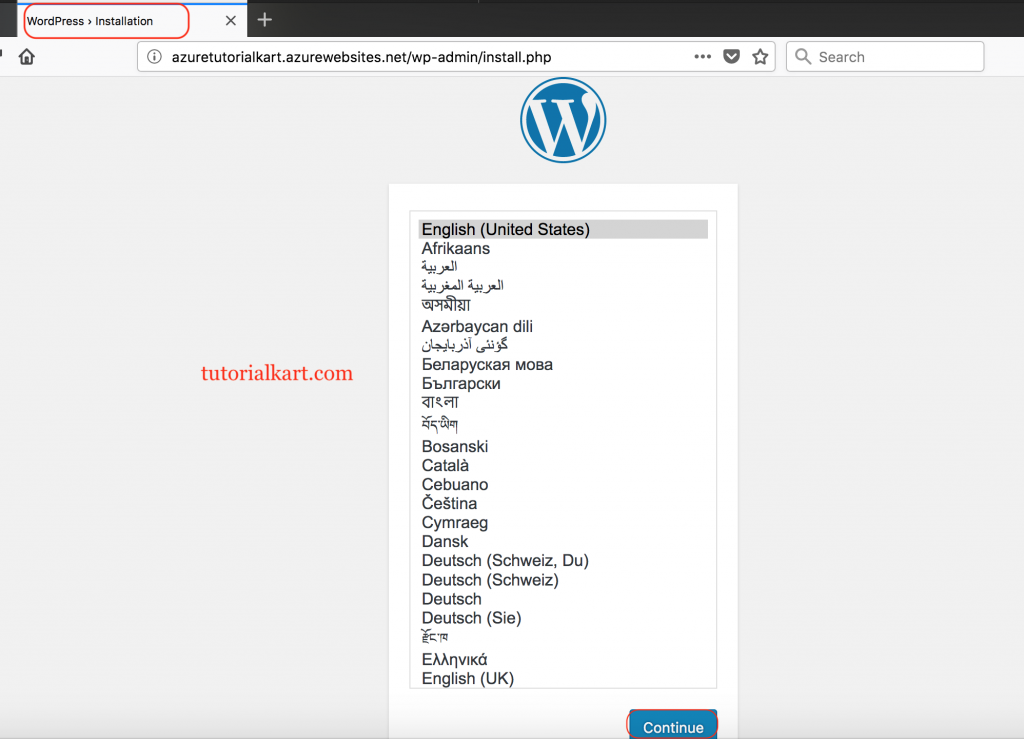
- Select language and click on Continue button.
This page is the standard WordPress installation screen. Azure has already created the hosting resources, but WordPress still needs site-level details such as language, title, administrator user, password, and email address.
Configuring WordPress login credentials in Azure hosted site
- Enter wordpress site title.
- Enter user name. This wordpress username will be used at login page.
- Enter password for your wordpress website.
- Enter Email.
Choose a username that is not easy to guess, and use a strong password. Avoid using common administrator names such as admin for a public website. The email address is used for password resets and WordPress administrative notifications.
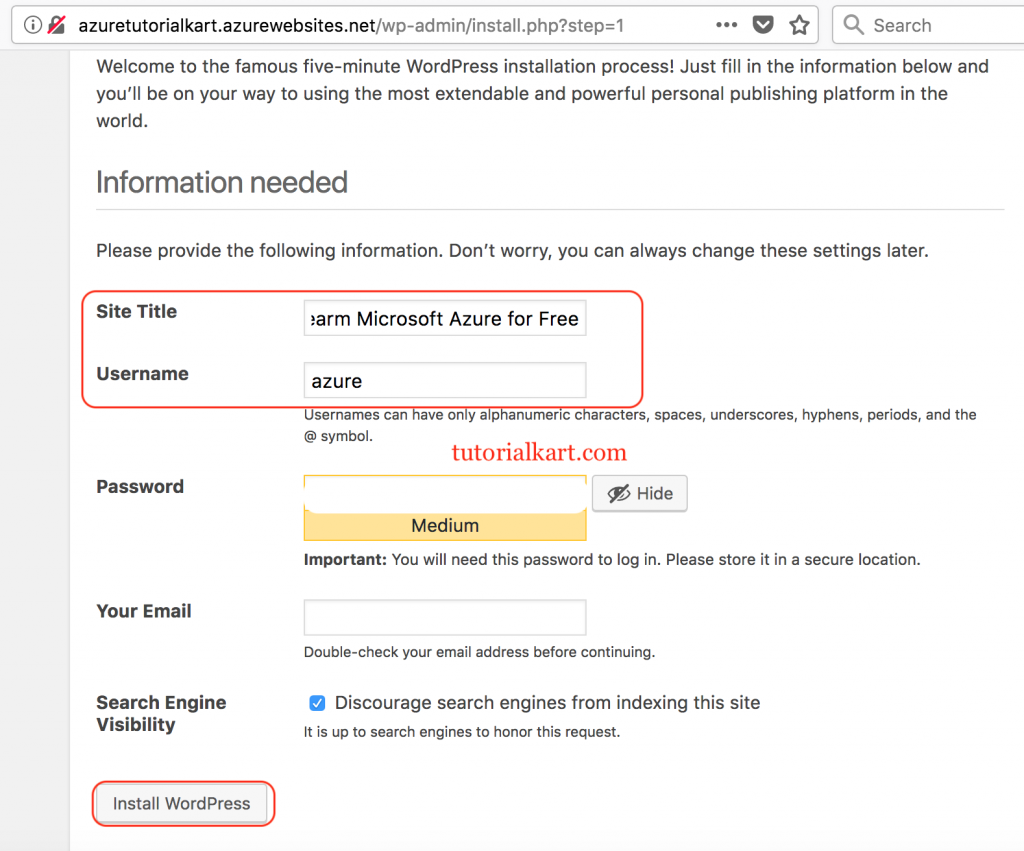
- Click on Install WordPress button.
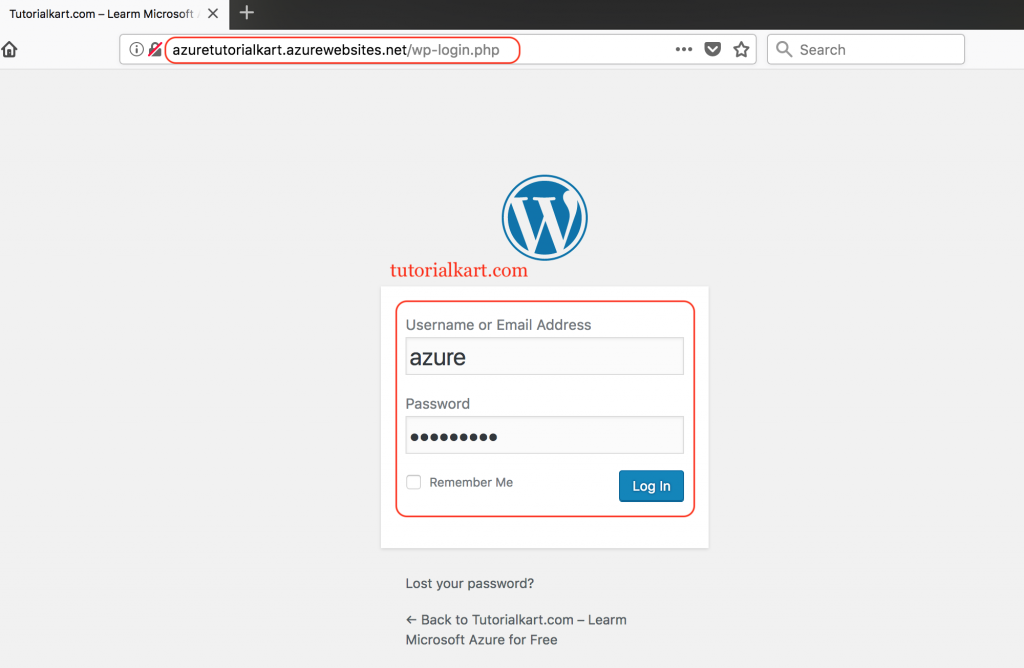
And now go to WordPress Azure website login page. Enter username and password .and click on Login button
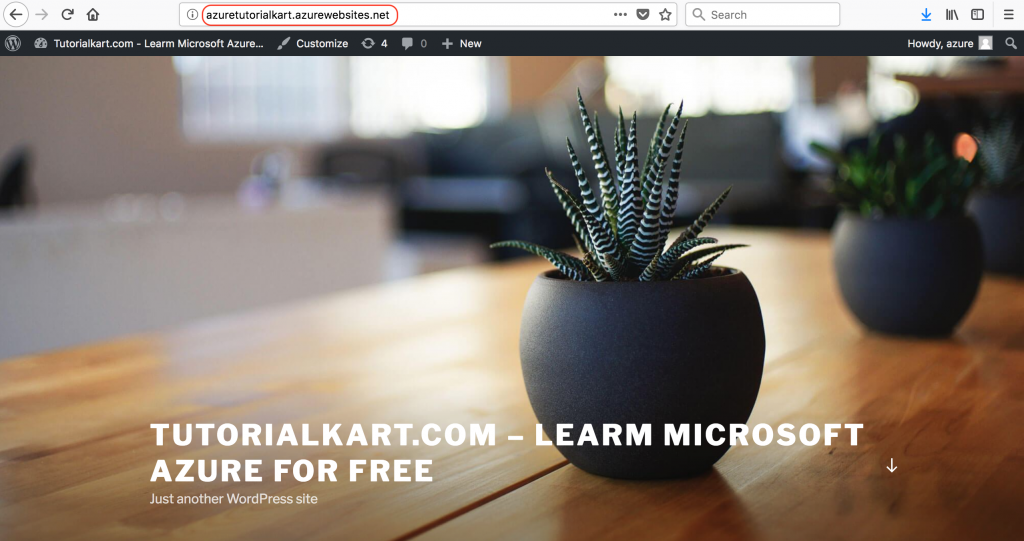
Now we have successfully created Wordpress Website using Azure marketplace template.
Important Azure settings to check after WordPress installation
After logging in to the WordPress dashboard, review both WordPress settings and Azure App Service settings. The WordPress dashboard controls themes, plugins, posts, users, and site settings. The Azure portal controls hosting, scaling, backups, monitoring, networking, and deployment settings.
| Area to check | Why it matters for WordPress on Azure |
|---|---|
| App Service plan | Controls compute capacity and cost for the WordPress web app. |
| Database service | Stores WordPress posts, pages, users, settings, and plugin data. |
| Custom domain | Lets visitors use your own domain instead of the default Azure address. |
| HTTPS settings | Helps serve the WordPress website securely over HTTPS. |
| Backups | Protects site files and database content before updates or changes. |
| Application logs | Helps troubleshoot PHP, WordPress, plugin, and hosting errors. |
Cost and hosting choices for WordPress on Azure
The cost of a WordPress website on Azure depends mainly on the App Service plan, database tier, storage, backups, traffic, and any additional services you enable. For a learning site, a smaller configuration may be enough. For a live business or content website, choose resources based on expected traffic, plugin load, database size, and backup requirements.
Do not leave test deployments running if you no longer need them. Azure resources can continue to incur charges while they are active. When you finish testing, either stop the web app or delete the resource group if it contains only resources created for this WordPress tutorial.
Troubleshooting WordPress deployment from Azure Marketplace
- WordPress page does not open: Check whether the App Service status is Running, then use the Browse option again.
- Deployment is stuck: Open the deployment details in the Azure portal and review the failed resource or validation message.
- Database connection error appears: Verify that the database resource exists, is running, and was created in the same deployment flow.
- Login page opens but credentials fail: Use the WordPress username and password created during the WordPress installation step, not the Azure account credentials.
- Website is slow after installing plugins: Review plugin count, App Service plan capacity, database tier, and caching configuration.
WordPress on Azure Marketplace FAQ
Can I create a WordPress website directly from Azure Marketplace?
Yes. You can search for WordPress in Azure Marketplace, select the WordPress template, configure the web app and database settings, and deploy the site from the Azure portal.
What Azure services are used for a Marketplace WordPress website?
A typical Marketplace WordPress deployment uses Azure App Service for the web application and a MySQL-compatible database service for WordPress data. The exact resource names and options may vary based on the selected template and portal experience.
Do I need to install PHP and MySQL manually for WordPress on Azure?
No. When you use the Azure Marketplace WordPress template, Azure provisions the required hosting resources and database configuration. You still need to complete the WordPress installation page by entering the site title and admin credentials.
Can I use a custom domain for WordPress hosted on Azure?
Yes. After the App Service is created, you can configure a custom domain from the App Service settings in the Azure portal. You may also need to update DNS records at your domain provider.
How do I avoid extra Azure charges after testing WordPress?
If the deployment was only for practice, delete the resource group that contains the WordPress App Service, database, and related resources. Review the resource group first so that you do not delete unrelated services.
Editorial QA checklist for this Azure WordPress tutorial
- Confirm that the tutorial explains both Azure resource creation and the WordPress installation wizard.
- Keep all existing Azure portal screenshots in the same order as the deployment flow.
- Check that WordPress admin credentials are described as separate from Azure portal credentials.
- Review database wording so it does not imply that every Azure Marketplace screen always shows the same provider list.
- Verify that cost guidance reminds users to stop or delete unused test resources.
Summary of creating WordPress website using Azure Marketplace template
In this Azure tutorial, we created a WordPress website using Azure Marketplace template. The main steps are to search for WordPress in Azure Marketplace, create the App Service and database resources, wait for deployment to complete, open the site in a browser, and finish the WordPress setup with administrator details. After installation, review App Service, database, domain, HTTPS, backup, and monitoring settings before using the site for real content.
For current Microsoft guidance, you can also refer to the official Azure App Service WordPress quickstart at https://learn.microsoft.com/en-us/azure/app-service/quickstart-wordpress.