SQL transformation in Informatica process the Scrips and SQL queries midstream in the pipeline. You can insert, delete, update and retrieves rows into or from the database. You can pass the DB connection information to the SQL transformation at run time also as input.
SQL transformation in Informatica runs in one of the following modes.
- Script mode: A SQL t/r running in a script mode runs the SQL scripts from the text files.
- Query mode: A SQL t/r runs the queries that you put in the SQL transformation in the mapping.
In this Informatica tutorial, we will generate a delimited file with pipe delimiter after finding the count of each source table using the SQL transformation. Check the following details given below.
| Source Tables | Transformations | Logic | Target Tables |
| Source File as below | SQ_ Employee | N/A | Target File as below |
| Source File as below | SQL_COUNT(SQL T/R) | SELECT COUNT(*) FROM ‘$Table_Name’; | Target File as below |
How to Create SQL Transformation in Informatica?
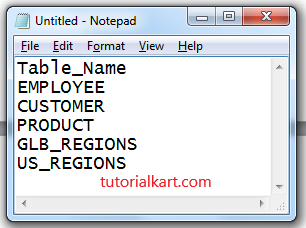
- Source File Name: Process_Tables.txt.
Source table will be created as shown below
Table_Name
EMPLOYEE
CUSTOMER
PRODUCT
GLB_REGIONS
US_REGIONS
Create a file with above data as below
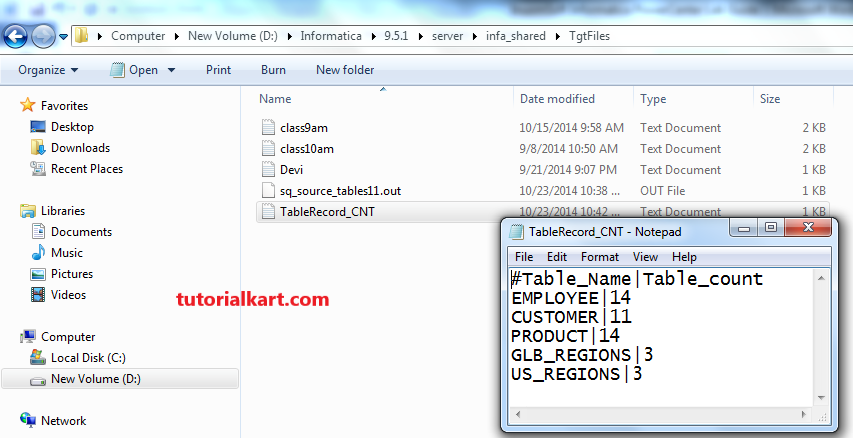
Target File name: Process_Tables_CNT.txt
Target table is created with the rows as given below
Table_Name Table_CNT (how many rows in table level)
EMPLOYEE 11
CUSTOMER 10
PRODUCT 14
GLB_REGIONS 3
US_REGIONS 3
Note:- Target Table structure we will create from mapping.
Creating SQL Transformation in Informatica step by step
- Import source file into source analyzer.
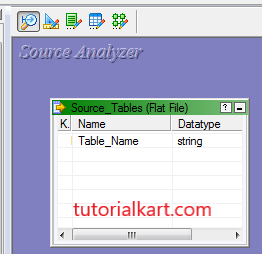
As it has only one column so this requires no delimiter to set.
- Create a mapping with name ‘m_TableRecord_Count‘.
- Drag source in to the mapping workspace.
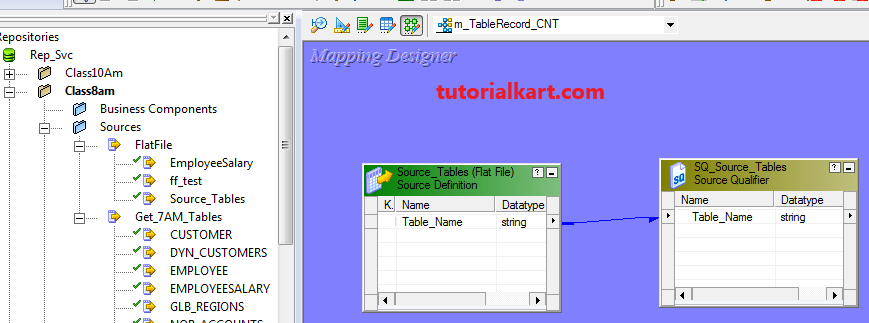
- Now right click on source qualifier and click on ‘create and add target’ option.
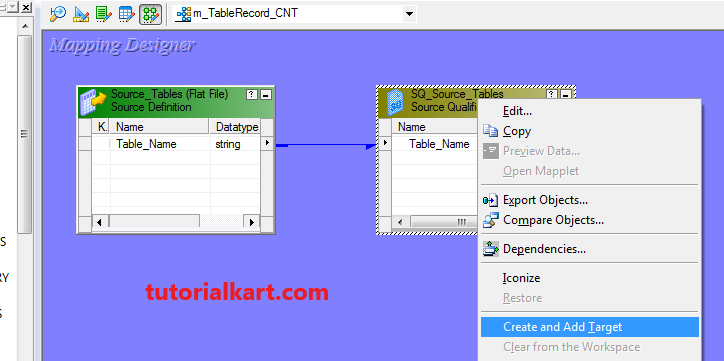
- It creates a target table with same source qualifier structure based on Oracle database as default.
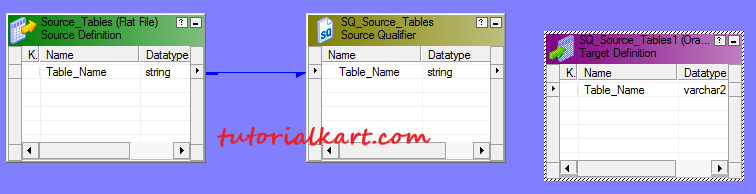
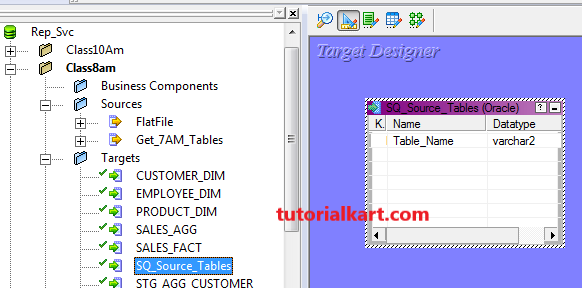
- Now this will be storing on left side target components level. Now go to target designer and drag target table to designer.
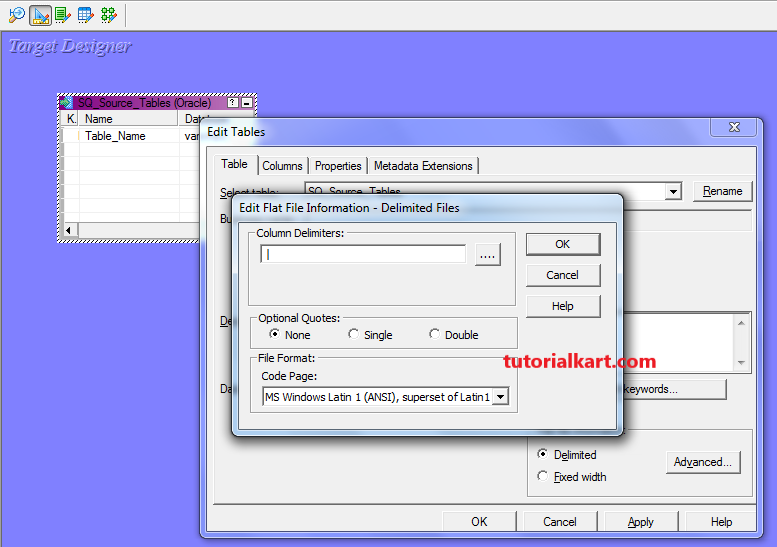
- Double click on table and go to Table tab and go to Database type.
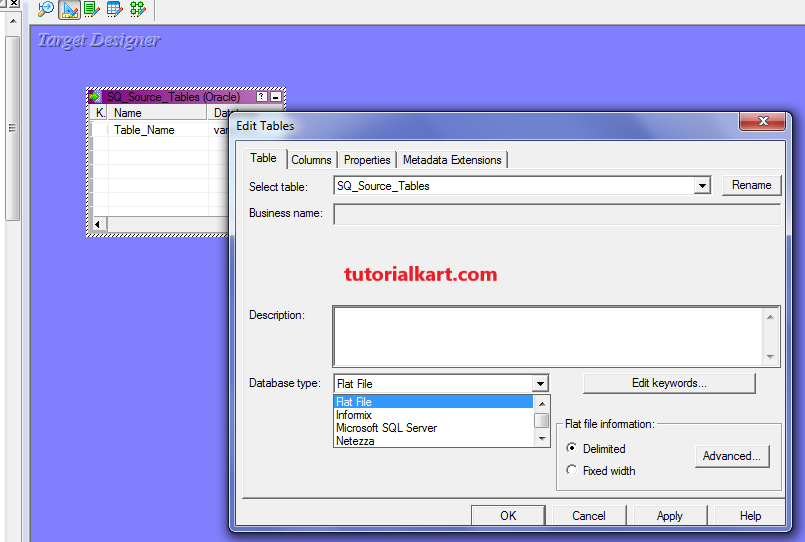
- Now go to Delimited Advanced and provide Pipe(|) as delimiter.
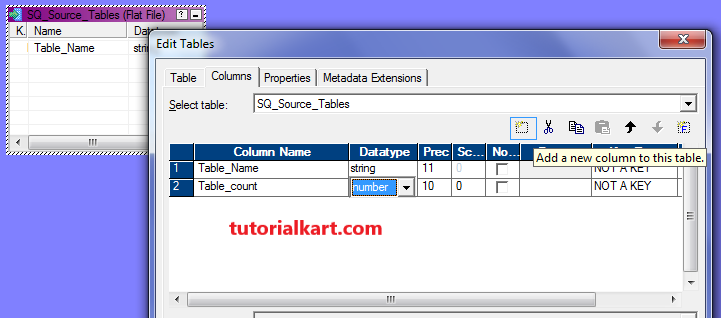
- Now go to columns tab and create one more column with name ‘Table_count’ with number data type.
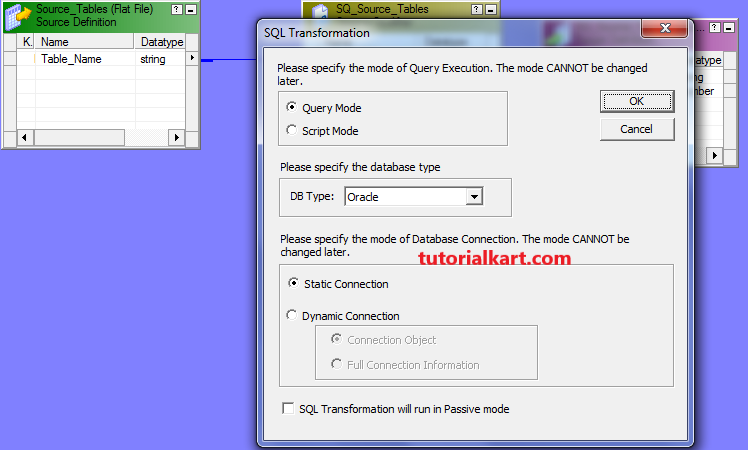
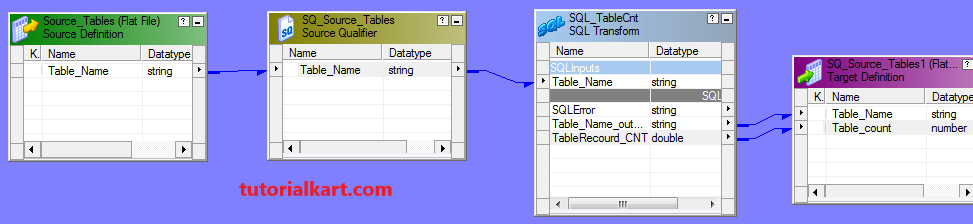
- Now go to mapping designer and create SQL transformation in Query mode with name sql_count.
- Now drag port from Source Qualifier to SQL Transformation as shown below.
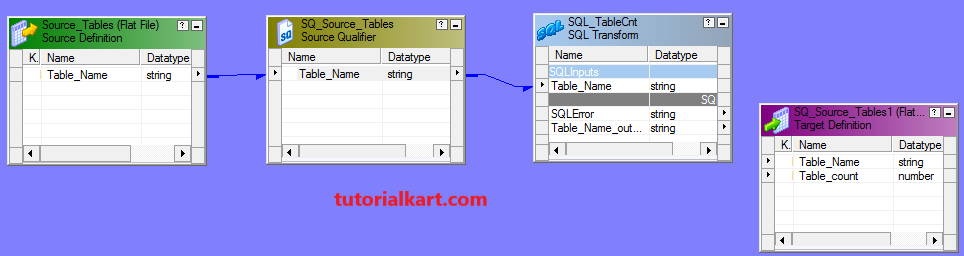
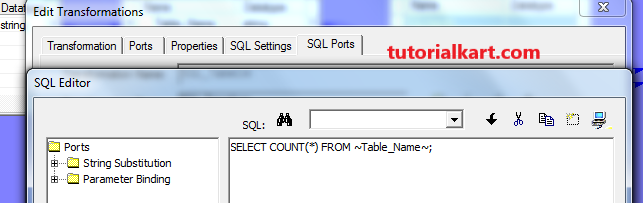
- Double click on Transformation and go to ‘SQL ports’ and create one OUTPUT port with name TableRecord_CNT

- Now go to SQL Query in the below window and enter the following query shown below.
SELECT COUNT(*) FROM ~Table_Name~;.
- Drag the both the ports from SQL to target definition.
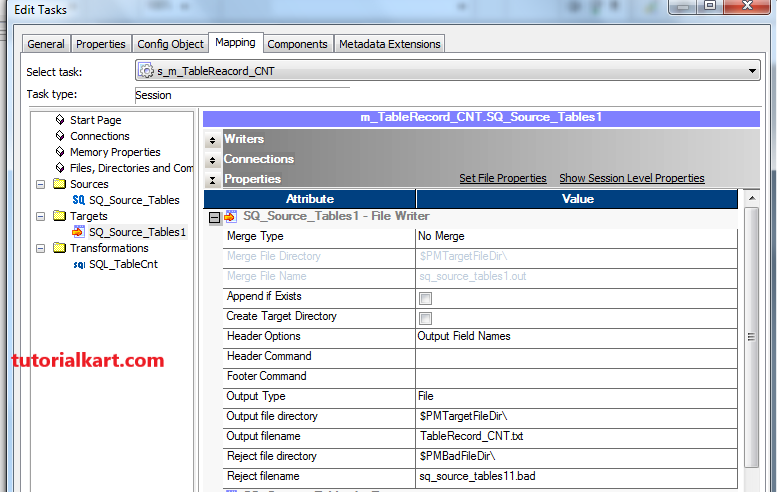
- Now save mapping and go to workflow manager, create session.
- Now define source file properties and target file properties as required.
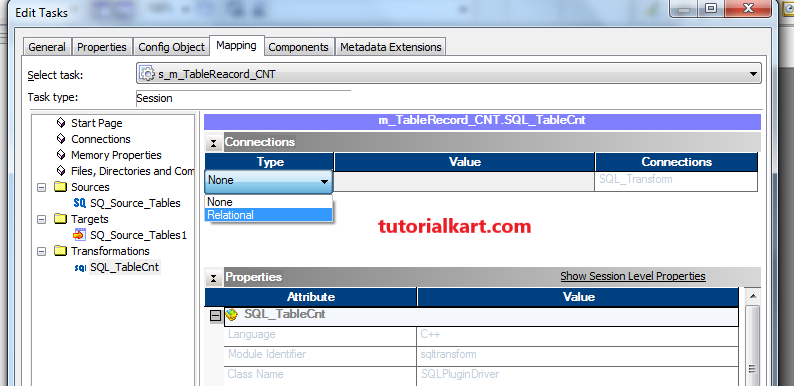
- Also need to define database connection for SQL transformation
- Now create workflow and execute it with session.
- Now observe target file at target file location.
Target file gets data as below. May be count of records may change but structure is same.