Follow these steps to add resources folder to Java Project in Eclipse IDE.
1. Resources Folder
Make sure there is a resources folder in your Java Project. If there is none, create one.
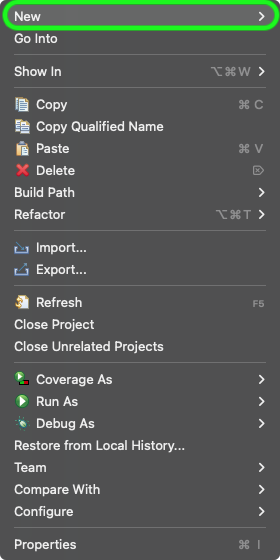
To create a folder in the Java Project, Open Project Explorer and right click on the project, in which you would like to create a resources folder. A menu appears as shown in the following. Click on New menu item.
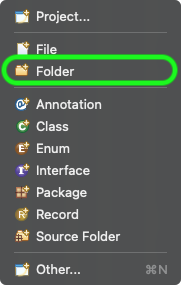
Now, click on Folder menu item.
A pop up appears as shown below.
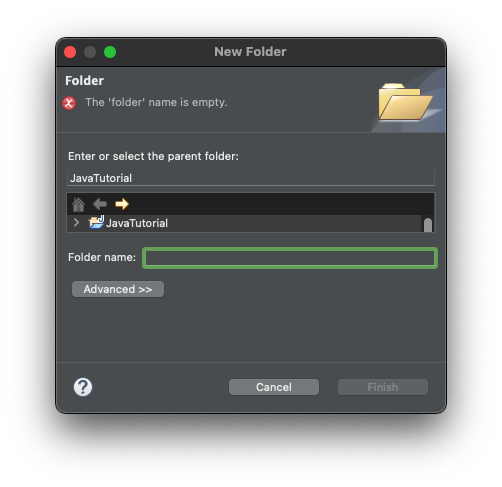
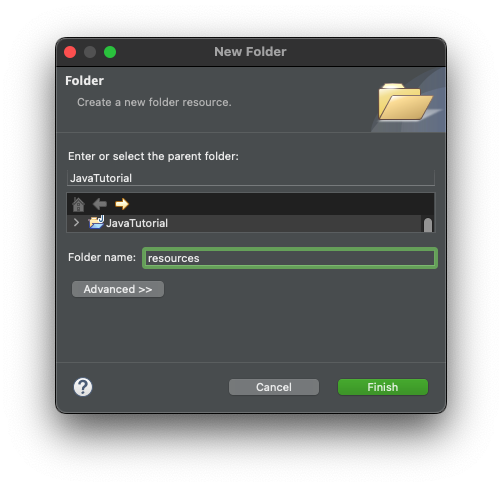
Give a name in the Folder name input text, say resources, and click on Finish button.
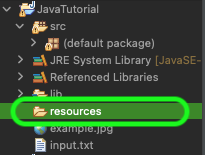
resources folder has been created in your project.
2. Add resources folder to Java Project.
Now, that we have a folder, we need to add this folder as resources to the Java Project.
Right click on the project in Project Explorer, and click on Build Path.
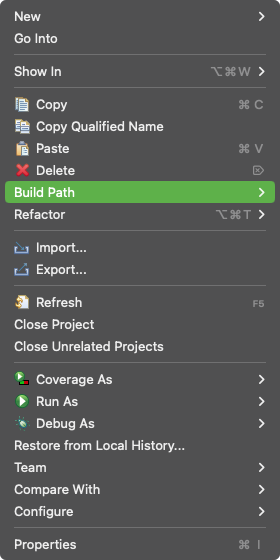
Click on Configure Build Path.

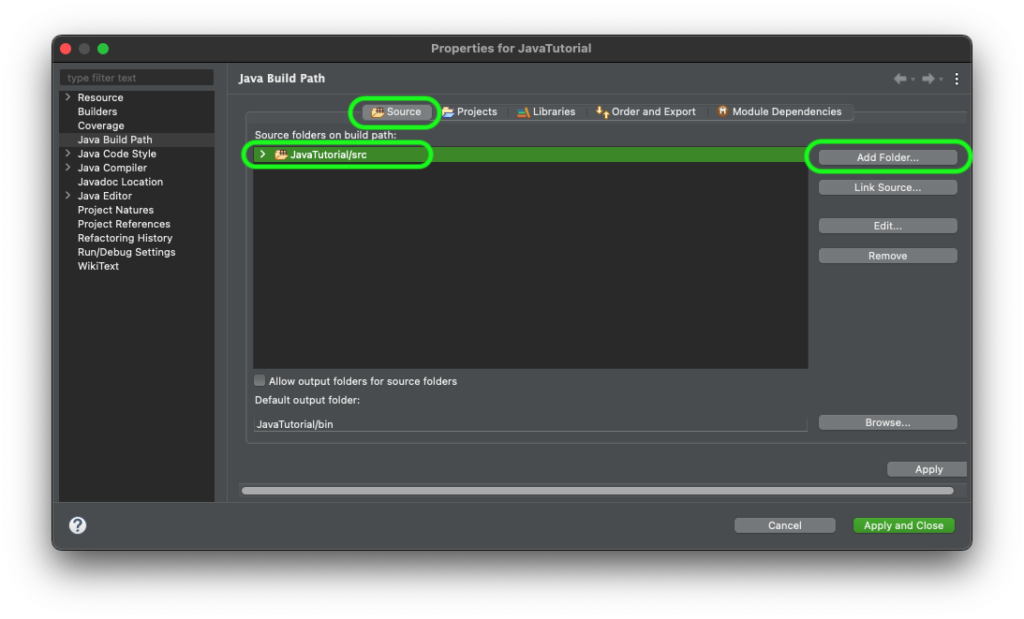
Under Source tab, click on the project in Source folders on built path, and then click on the Add Folder button.
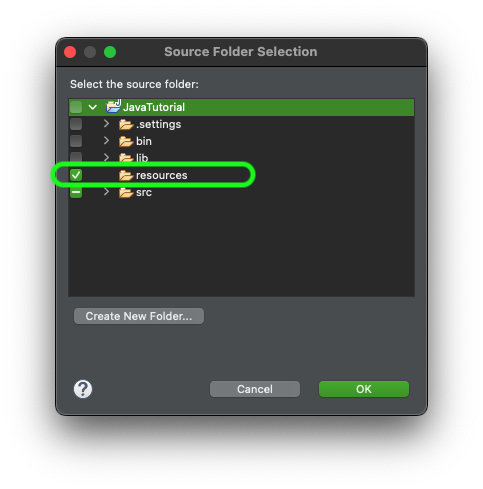
Check the resources folder that you would like to add to the Java Project, and click on OK button.
Click on Apply and Close button.
The resources folder has been successfully added to the Java Project.