In this tutorial, we shall create a simple Kotlin Android application that displays a Hello World message. The goal is to start a new Android Studio project, use Kotlin as the app language, understand where the generated MainActivity.kt file is created, and run the app on an emulator or an Android device.
Modern Android Studio versions create Kotlin Android projects differently from the older Android Studio 3.0 wizard shown in some screenshots below. You may see Empty Activity, Empty Compose Activity, a Language field set to Kotlin, or Kotlin Gradle DSL options instead of the older Include Kotlin Support checkbox. The project flow is still the same: create a project, select a starter activity, let Gradle sync, and run the app.
Following is a screenshot of the Kotlin Android Hello World application that we shall build in this example.
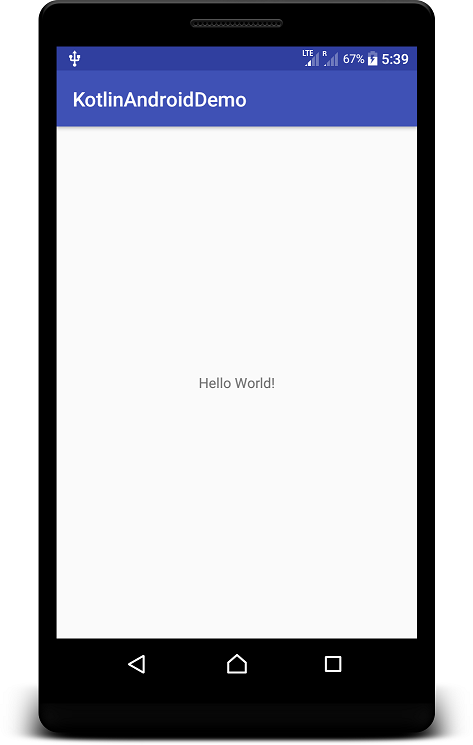
Kotlin Android Hello World project in Android Studio
For this Kotlin Android application example, you need Android Studio, the Android SDK installed through Android Studio, and either an emulator or a physical Android phone with USB debugging enabled. You can download the latest version of Android Studio from https://developer.android.com/studio/.
The screenshots in this tutorial were captured from an older Android Studio version. If your Android Studio screen looks slightly different, follow the current labels shown in the wizard. The important selections are a Kotlin language project, an Empty Activity template, and a minimum SDK that suits the devices you want to support.
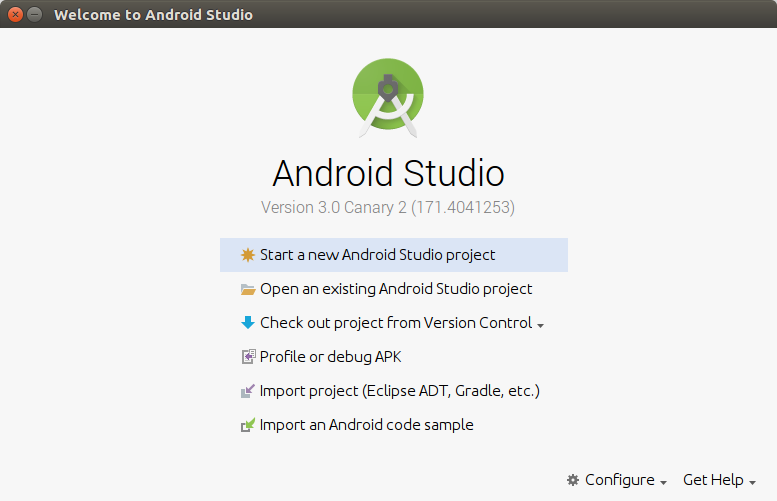
Step 1: Start a new Kotlin Android project in Android Studio
Open Android Studio from your applications menu. On the welcome screen, choose the option to create a new project. If a project is already open, use File > New > New Project.
Step 2: Choose Kotlin support or Kotlin as the Android project language
Enter the application name and package details for the project. In older Android Studio versions, check Include Kotlin Support. In newer Android Studio versions, select Kotlin in the Language field if that field is shown. You may also see Kotlin DSL for Gradle build files, which is different from choosing Kotlin as the app programming language.
For this tutorial, you can use a project name such as KotlinAndroidDemo. The package name can be similar to com.example.kotlinandroiddemo for practice projects.

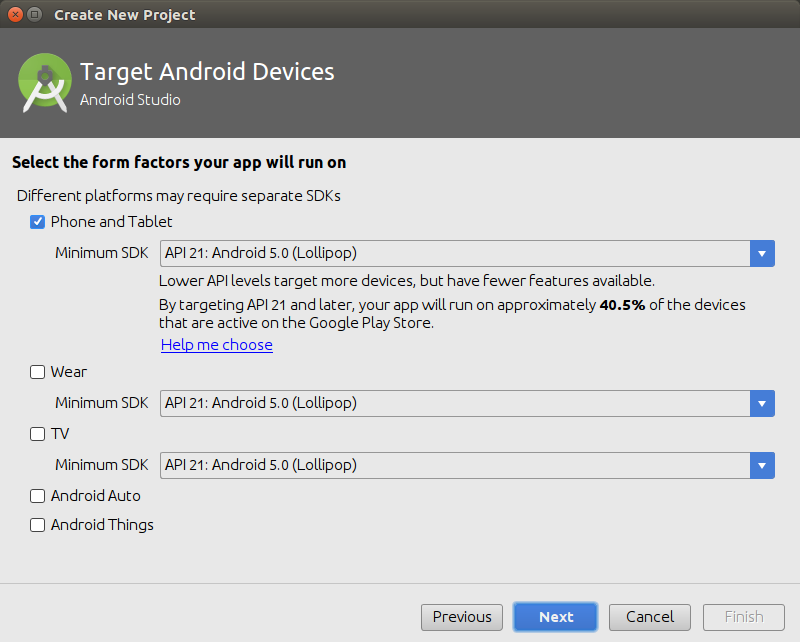
Step 3: Select the minimum SDK for the Kotlin Android app
Select the Minimum SDK for the Kotlin Android application and continue. The minimum SDK decides the oldest Android version on which your app can run. For a learning project, the default value suggested by Android Studio is usually acceptable.
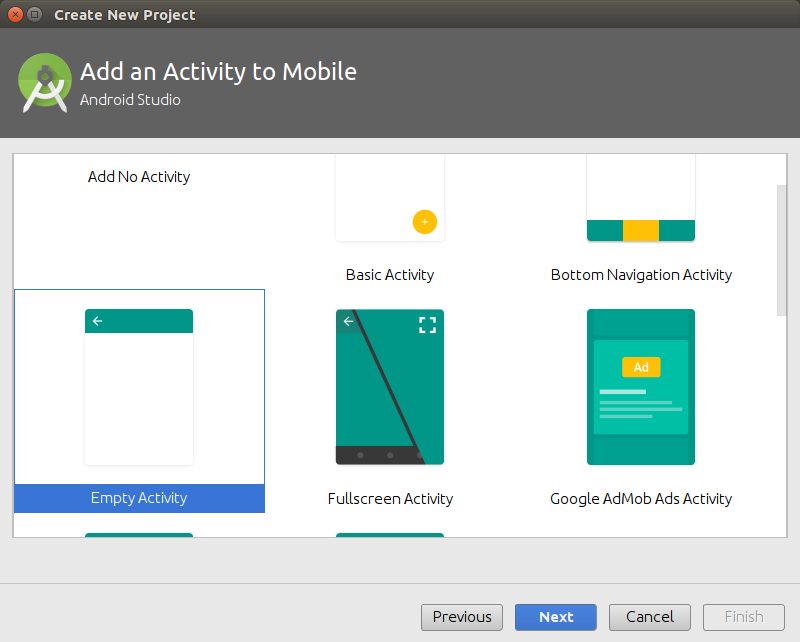
Step 4: Choose Empty Activity for the Kotlin Android Hello World screen
Select Empty Activity and click Next. Current Android Studio versions usually create an Empty Activity with Jetpack Compose setup. Older projects may create an XML layout file. Both approaches can use Kotlin; this tutorial focuses on the Kotlin Activity file that Android Studio generates.
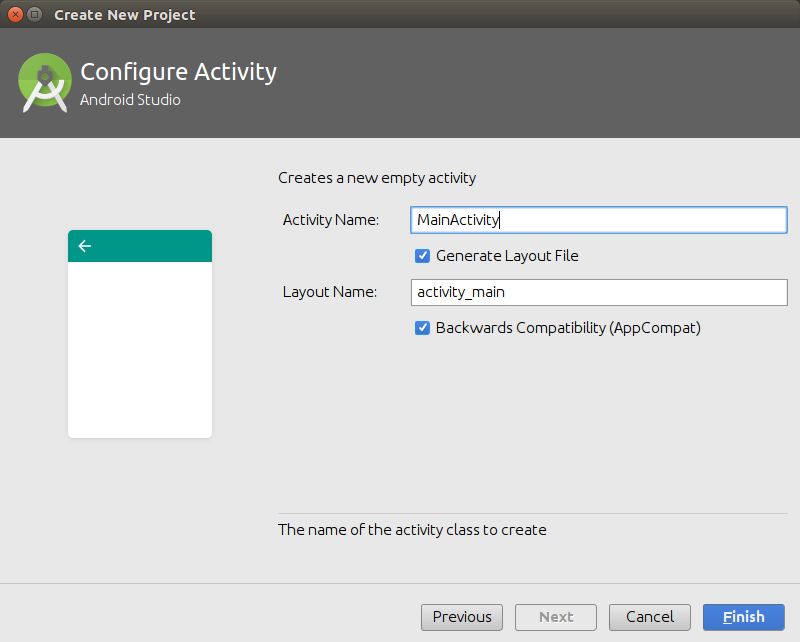
Step 5: Keep MainActivity for the Kotlin Android entry screen
Keep the Activity name as MainActivity unless you have a specific reason to rename it. Android Studio creates MainActivity.kt, and this file becomes the first screen that opens when the app starts.
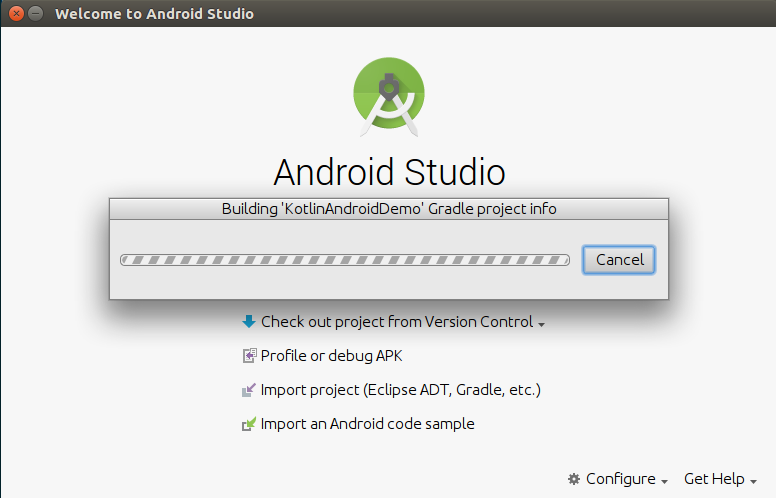
After you finish the wizard, Android Studio creates the project files and starts Gradle sync. The first sync can take longer because Android Studio may download required Gradle, Kotlin, Android Gradle Plugin, and SDK components.
Step 6: Sync Gradle and install missing Android SDK platforms
If Gradle sync fails during the first project setup, check the message shown by Android Studio. In older versions, you may see a link such as Install missing platform(s) and sync project. Click that link and allow Android Studio to install the missing SDK platform or build tools.
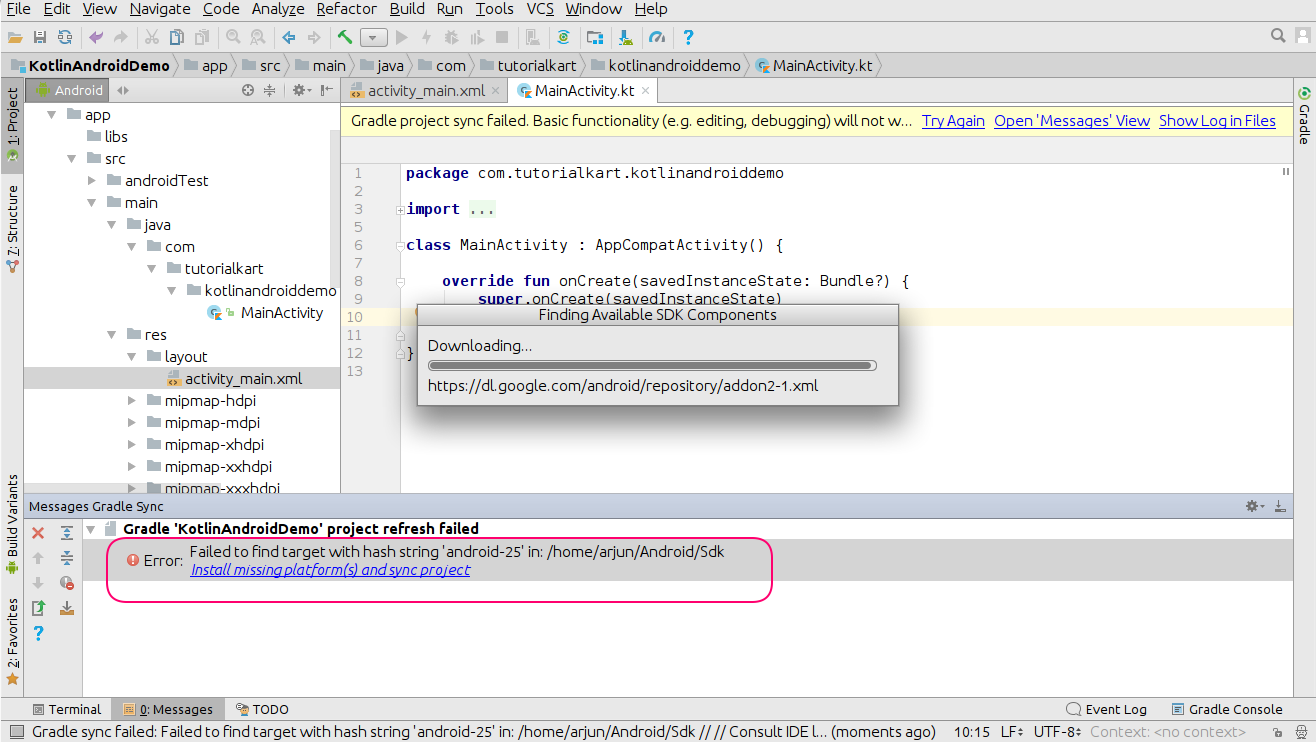
After the missing platform is installed, run Gradle sync again. When the sync succeeds, the project is ready to build and run.
Step 7: Check the generated MainActivity.kt in the Kotlin Android project
Open the MainActivity.kt file from the app source folder. Android Studio may show it under a folder path such as app > java > your.package.name, even though the file is written in Kotlin. This is normal because Android projects use the same source set folder for Java and Kotlin files.
In a modern Empty Activity project with Jetpack Compose, the file may look similar to the following simplified Kotlin Android Hello World example.
package com.example.kotlinandroiddemo

import android.os.Bundle
import androidx.activity.ComponentActivity
import androidx.activity.compose.setContent
import androidx.compose.material3.MaterialTheme
import androidx.compose.material3.Surface
import androidx.compose.material3.Text
import androidx.compose.runtime.Composable
import androidx.compose.ui.tooling.preview.Preview

class MainActivity : ComponentActivity() {
    override fun onCreate(savedInstanceState: Bundle?) {
        super.onCreate(savedInstanceState)

        setContent {
            MaterialTheme {
                Surface {
                    Greeting(name = "World")
                }
            }
        }
    }
}

@Composable
fun Greeting(name: String) {
    Text(text = "Hello, $name!")
}

@Preview(showBackground = true)
@Composable
fun GreetingPreview() {
    MaterialTheme {
        Greeting(name = "World")
    }
}
The onCreate() function runs when the Activity is created. The setContent block defines the Compose UI for the screen, and the Greeting() composable displays the Hello World text.
Step 8: Run the Kotlin Android Hello World app on an emulator or phone
Run the application by selecting an Android emulator or by connecting a physical Android phone with developer options and USB debugging enabled. Click the Run button in Android Studio. After the build completes, the app opens and displays the Hello World message.
If the app does not start, check the selected run configuration, the connected device, and the Build window for the first error message. Fix the first error before checking the remaining messages, because many later messages may be caused by the first failure.
Difference between Kotlin Android Hello World and Kotlin console Hello World
A Kotlin Android Hello World app runs inside an Android Activity and shows text on the device screen. A Kotlin console Hello World program runs on the JVM and prints text to the terminal. The Android project uses Android Studio, Gradle, Android SDK, and app lifecycle classes such as Activity.
A plain Kotlin console Hello World program looks like this:
fun main() {
    println("Hello, World!")
}
The output of the console program is:
Hello, World!In this Android tutorial, we are not building a console program. We are building an Android application where the Hello World text appears in the app UI.
Common Android Studio issues in a Kotlin Hello World project
When creating your first Kotlin Android application, the most common problems are Gradle sync errors, missing SDK packages, and device setup issues. The following checks usually solve the first build problems.
- Missing SDK platform: Open SDK Manager and install the platform requested in the Gradle error.
- Gradle sync failed: Use the sync error details, not only the red status message. The first error usually points to the real cause.
- No device available: Create an emulator from Device Manager or connect a phone with USB debugging enabled.
- Kotlin option not visible: In newer Android Studio versions, Kotlin may already be the selected language for the template, or it may be shown as a Language dropdown instead of an Include Kotlin Support checkbox.
- MainActivity file location is confusing: Look under
app/java/package-nameor use Android Studio search to openMainActivity.kt.
Kotlin Android Hello World FAQ
Which activity template should I choose for a Kotlin Android Hello World app?
Choose Empty Activity for a new Kotlin Android Hello World app. In current Android Studio versions, this template usually starts with Jetpack Compose. If you are following an older XML-based lesson, choose the template that creates an XML layout only when you specifically need that older structure.
Why do I not see the Include Kotlin Support checkbox in Android Studio?
The Include Kotlin Support checkbox was used in older Android Studio versions. In newer versions, Kotlin is commonly selected through a Language dropdown or included by the selected template. Select Kotlin wherever the wizard asks for the app language.
Where is MainActivity.kt located in a Kotlin Android project?
MainActivity.kt is usually located under app > java > your.package.name in Android Studio’s Android project view. The folder may say java, but it can contain Kotlin files also.
Can I create a Kotlin Android Hello World app without Jetpack Compose?
Yes. Kotlin can be used with either Jetpack Compose or XML layouts. Compose is the common starting point for new Empty Activity projects, while XML layouts are still seen in many existing Android projects.
What should I do if Gradle sync fails after creating the Kotlin Android project?
Read the first Gradle error, install any missing SDK platform or build tools, and sync again. If the error mentions incompatible plugin or Gradle versions, use the versions suggested by Android Studio for that project.
Editorial QA checklist for this Kotlin Android application example
- The tutorial clearly states that older screenshots may differ from the current Android Studio wizard.
- The Kotlin Android project steps mention Empty Activity, Kotlin language selection, minimum SDK, Gradle sync, and device run options.
- The
MainActivity.ktexplanation matches a modern Compose-based Android project. - New code blocks use PrismJS-compatible classes such as
language-kotlin,language-kotlin syntax, andoutput. - The FAQ answers common Kotlin Android Hello World setup questions without mixing Android app output with console output.
Kotlin Android Hello World recap
In this Kotlin Android Tutorial, we created an Android project with Kotlin programming language support, checked the generated MainActivity.kt file, and ran a simple Hello World screen. In the next tutorial, we shall learn to convert Java Files to Kotlin Files in existing Android projects.