Flutter Image
Flutter Image widget displays an image in our Flutter Application.
In this tutorial, we will learn how to display an image using Image widget.
Code Snippet
A quick code snippet to display an image using Image class is
</>
Copy
const Image(
  image: NetworkImage('https://www.tutorialkart.com/img/lion.jpg'),
)
In the above code, we are fetching the image from network, therefore, we have provided NetworkImage (ImageProvider object) to image property.
Example
In the following example, we display an image using Image class.
main.dart
</>
Copy
import 'dart:ui';
import 'package:flutter/material.dart';
void main() => runApp(const MyApp());
class MyApp extends StatelessWidget {
const MyApp({Key? key}) : super(key: key);
static const String _title = 'Flutter Tutorial';
@override
Widget build(BuildContext context) {
return MaterialApp(
title: _title,
home: Scaffold(
appBar: AppBar(title: const Text(_title)),
body: const MyStatefulWidget(),
),
);
}
}
class MyStatefulWidget extends StatefulWidget {
const MyStatefulWidget({Key? key}) : super(key: key);
@override
State<MyStatefulWidget> createState() => _MyStatefulWidgetState();
}
class _MyStatefulWidgetState extends State<MyStatefulWidget> {
@override
Widget build(BuildContext context) {
return Center(
child: Column(
children: <Widget>[
Container(
margin: const EdgeInsets.all(20),
child: const Image(
image: NetworkImage(
'https://www.tutorialkart.com/img/lion.jpg'),
),
),
],
),
);
}
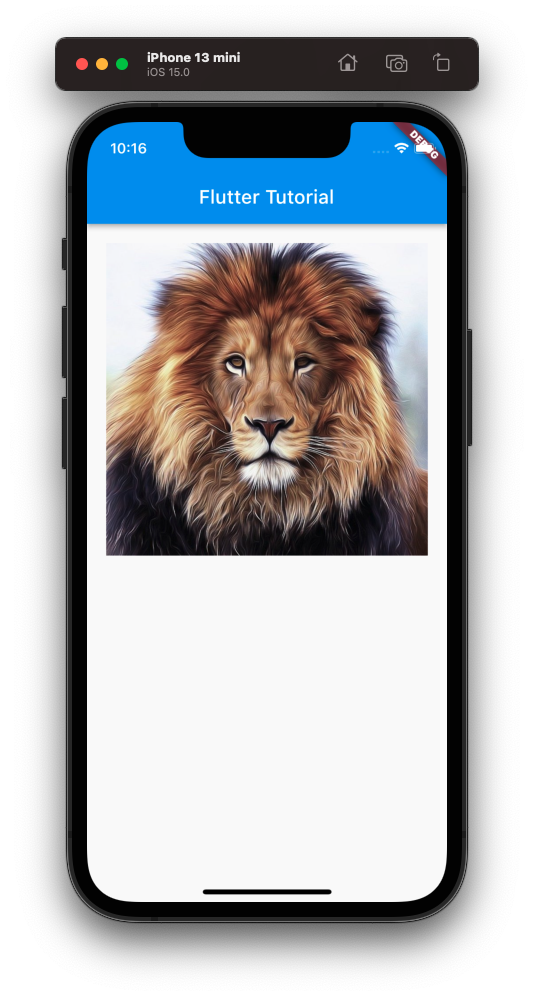
}Screenshot – iPhone Simulator
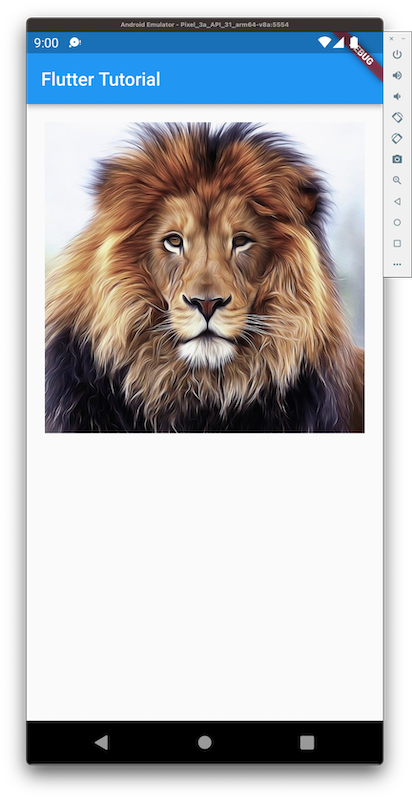
Screenshot – Android Emulator
Conclusion
In this Flutter Tutorial, we learned what an Image widget is, and how to set its properties to affect the look of the Image, with examples and tutorials.