Flutter Radio Widget
Flutter Radio widget is used to display a material design radio button.
Code Snippet
The following is a quick code snippet to define three radio buttons to select your current Operating System. This is only for understanding the semantics of Radio button. For complete code, refer the example.
enum OS { mac, windows, linux }

OS? _os = OS.mac;

Radio<OS>(
  value: OS.mac,
  groupValue: _os,
  onChanged: (OS? value) {
    setState(() {
      _os = value;
    });
  },
)

Radio<OS>(
  value: OS.windows,
  groupValue: _os,
  onChanged: (OS? value) {
    setState(() {
      _os = value;
    });
  },
)

Radio<OS>(
  value: OS.linux,
  groupValue: _os,
  onChanged: (OS? value) {
    setState(() {
      _os = value;
    });
  },
)
where
valueis the value represented by this radio button.groupValueis the value that is currently selected for this group of radio buttons.onChangedis the callback function that is called when user selects this radio button.
enum is used to create a fixed list of values to use with radio buttons. This is used defined, you can have any number of values as per requirement.
We initialise the group value _os with an initial value. In the above code _os = OS.mac.
Whenever a Radio button is pressed, onChanged function is called, and we set the groupValue via _os.
Example
In this example, we will create a Flutter Application with three Radio button widgets, as in the above code snippet. The Radio widget displays only the radio button, but not the label. To display the label also, we use ListTile widget with label text assigned to title property, and radio button assigned to leading property.
main.dart
import 'package:flutter/material.dart';
void main() => runApp(const MyApp());
class MyApp extends StatelessWidget {
const MyApp({Key? key}) : super(key: key);
static const String _title = 'Flutter Tutorial';
@override
Widget build(BuildContext context) {
return MaterialApp(
title: _title,
home: Scaffold(
appBar: AppBar(title: const Text(_title)),
body: const MyStatefulWidget(),
),
);
}
}
class MyStatefulWidget extends StatefulWidget {
const MyStatefulWidget({Key? key}) : super(key: key);
@override
State<MyStatefulWidget> createState() => _MyStatefulWidgetState();
}
enum OS { mac, windows, linux }
class _MyStatefulWidgetState extends State<MyStatefulWidget> {
OS? _os = OS.mac;
@override
Widget build(BuildContext context) {
return Center(
child: Column(
children: <Widget>[
const SizedBox(height: 30,),
const Text('Which Operating System are your currently using?'),
const SizedBox(height: 10,),
ListTile(
title: const Text('Mac'),
leading: Radio<OS>(
value: OS.mac,
groupValue: _os,
onChanged: (OS? value) {
setState(() {
_os = value;
});
},
)
),
ListTile(
title: const Text('Windows'),
leading: Radio<OS>(
value: OS.windows,
groupValue: _os,
onChanged: (OS? value) {
setState(() {
_os = value;
});
},
)
),
ListTile(
title: const Text('Linux'),
leading: Radio<OS>(
value: OS.linux,
groupValue: _os,
onChanged: (OS? value) {
setState(() {
_os = value;
});
},
)
),
],
),
);
}
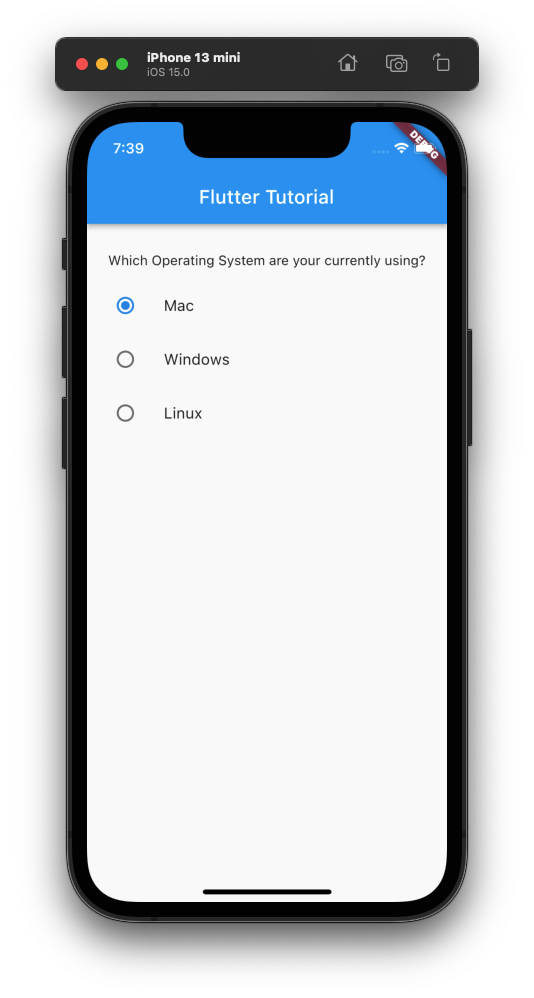
}Screenshot – iPhone Simulator
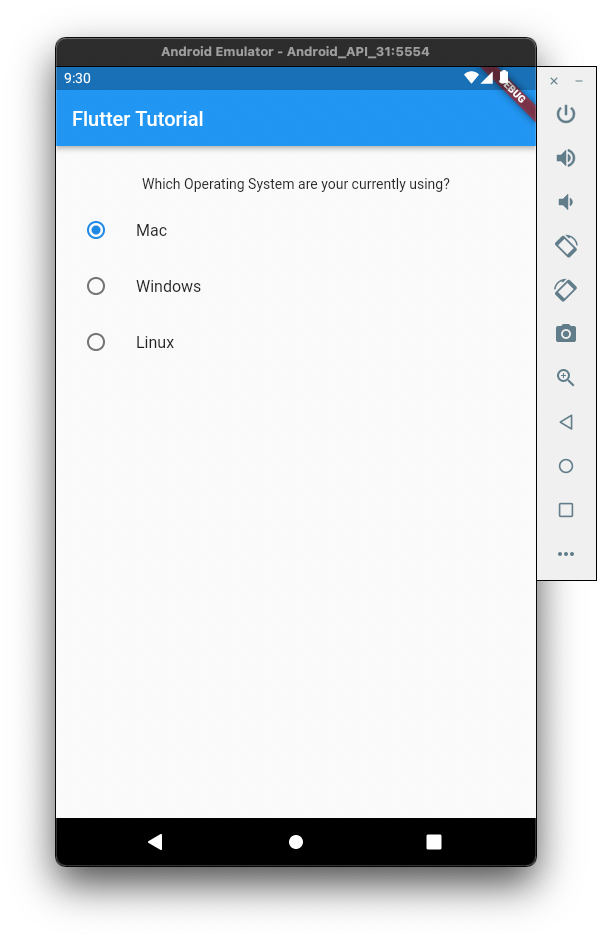
Screenshot – Android Emulator
Conclusion
In this Flutter Tutorial, we learned how to create Radio buttons in a Flutter Application, with examples.