Deleting and Exporting Records using Data Loader Salesforce
In this Salesforce Tutorial we are going to learn about the how to delete a record using data loader salesforce and how to export records using data loader salesforce. Data Loader is a client desktop application used to import, update, upsert, delete, and export Salesforce data in bulk.
Deleting records and exporting record are the operations that can be performed using data loader salesforce. Learn how to delete a record in salesforce object using Apex Data Loader. Before deleting data, always export a backup CSV and review the success and error files generated by Data Loader.
Learn how to insert records using Data Loader.
How to Update using Data Loader.
How to Upsert using Data Loader.
When to Use Delete, Export, and Export All in Salesforce Data Loader
Use Delete when you have the Salesforce record IDs and you want to remove those records from an object. Use Export when you need a CSV file of current records. Use Export All when you also need records that are in the Recycle Bin and archived activity records, subject to your Salesforce permissions and retention rules.
| Data Loader operation | Best use case | Important requirement |
|---|---|---|
| Delete | Remove existing Salesforce records by ID | CSV must contain the Salesforce Id column |
| Export | Download active records into a CSV file | Select object, fields, and optional SOQL filters |
| Export All | Download active records plus deleted or archived records where available | User must have access to those records |
Salesforce Data Loader Delete Prerequisites Before You Start
- Confirm that your user has permission to delete records on the selected Salesforce object.
- Export a backup of the same records before running the delete job.
- Use the correct Salesforce record ID. The ID should belong to the same object you select in Data Loader.
- Remove duplicate IDs from the CSV file to avoid repeated processing errors.
- Run a small test batch first if you are deleting production data.
A delete CSV normally needs only one column: Id. Other columns may be kept for review, but Data Loader uses the mapped ID field to identify which records must be deleted.
Id
0015g00000ABCdEAA1
0015g00000ABCdFAA1
0015g00000ABCdGAA1
Deleting Record using Data Loader Salesforce
Open Data Loader from your local system. Select Delete button as shown below.
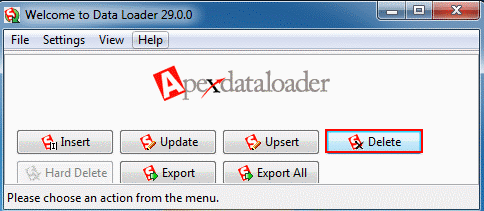
- Open Data Loader and Select Delete.
- Enter Username and password to login.
Create a CSV file with record ID as shown below.
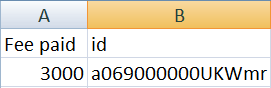
- Prepare CSV file and give record ID number.
- Here we are going to delete Fee paid field from the object Studentinfo__c object.
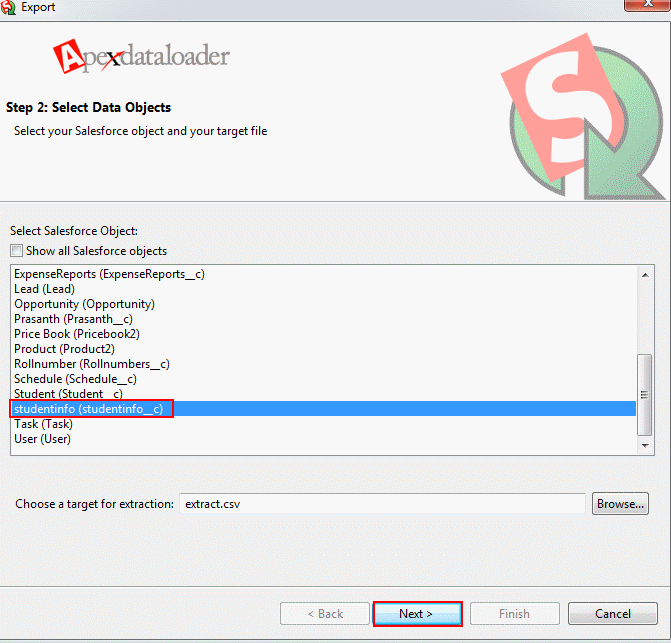
Step2:- Selecting Data Object.
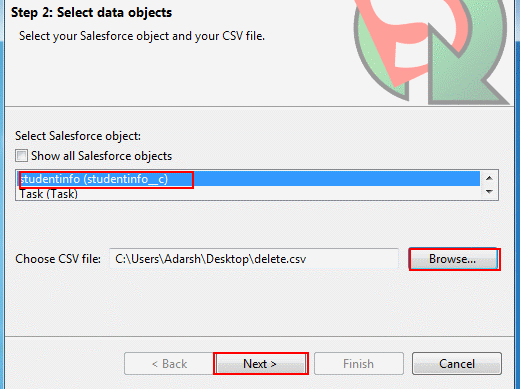
- Select Object name from the list.
- Click browse button and upload CSV file from your local system.
- Select Next button.
Choose the same object whose record IDs are present in the CSV file. For example, if the CSV contains Studentinfo__c record IDs, select Studentinfo__c in Data Loader.
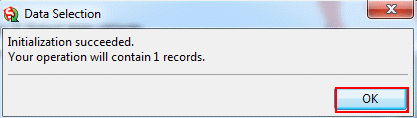
- The above image shows that the data selection initialization is success.
- Click on Ok button.
Step3:- Mapping CSV columns to the Salesforce Object.
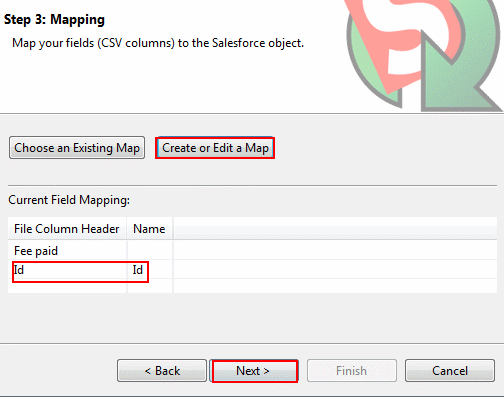
- Click on Create or Edit a map button.
- Now Drag the fields down to the column.
- Click on Next button.
For a delete operation, map the CSV Id column to the Salesforce Id field. Avoid mapping unrelated fields because the delete job is based on the record ID.
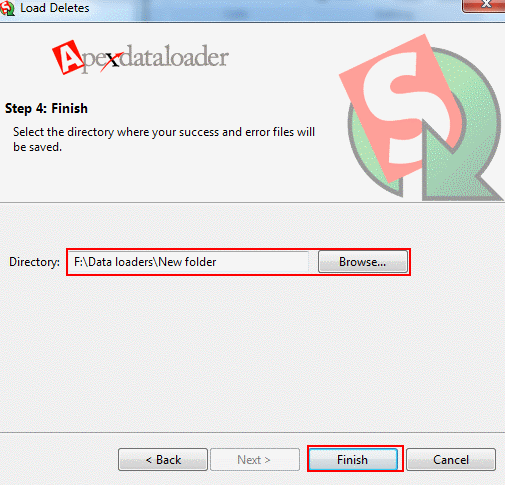
- Select directory to save your success and error files log.
- Select Finish button.
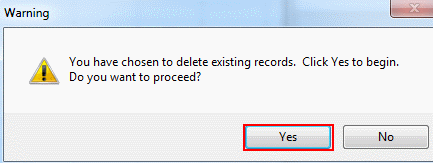
- Click on Yes Button to confirm Delete operation.
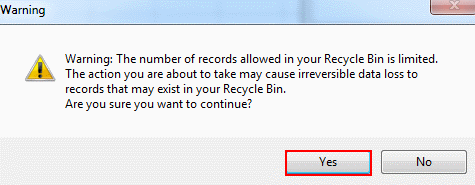
- Observe the warning message and Select Yes.
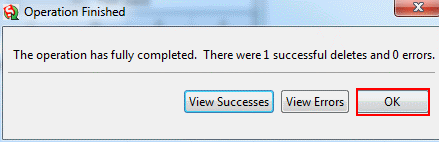
- Records are deleted successfully and select OK button and open your Studentinfo Tab.
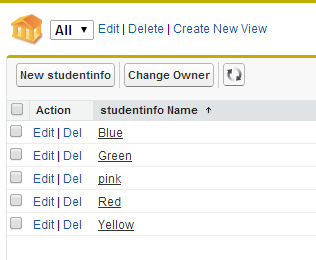
We have deleted Black record Successfully from Salesforce.
How to Read Data Loader Success and Error Files After Delete
After the delete job finishes, Data Loader creates a success file and an error file in the folder selected during the operation. The success file confirms deleted record IDs. The error file shows records that failed and the reason for failure, such as insufficient access, invalid ID, locked record, or a validation-related issue.
Id,Status
0015g00000ABCdEAA1,Item deleted successfully.
0015g00000ABCdFAA1,Item deleted successfully.
If the error file contains failed rows, fix the cause and run a new delete job only for those failed records. Do not rerun the full original CSV unless you have checked that the already-deleted records are not included again.
How Export records from Salesforce to CSV ?
Exporting records with Data Loader is useful when you need a backup, a reporting extract, or a CSV file for review before update, upsert, or delete operations. You can export all fields you need or use a SOQL condition to export only selected rows.
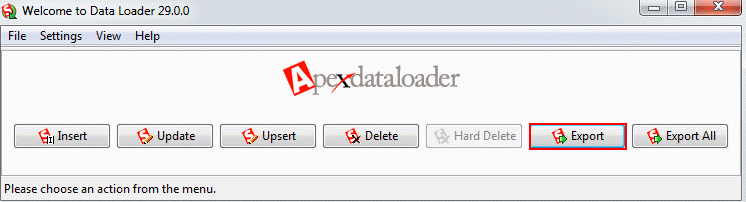
- Select Export Button.
- Select Object name and choose destination folder to which we want to store CSV file in PC.
- Then select Next Button.
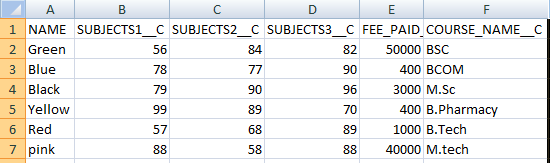
- Select field names to which we want to export fields. Here we selected Studentname__c, Subject1__c, Subject2__c, Subject3__c and course name from Studentinfo__c.
- Select Finish Button.
For a safer delete process, export the same object first and keep the Id field in the exported CSV. If you need only a subset of records, use a WHERE condition in the SOQL query instead of exporting the whole object.
SELECT Id, Studentname__c, Subject1__c, Subject2__c, Subject3__c, Course__c
FROM Studentinfo__c
WHERE Course__c = 'Salesforce'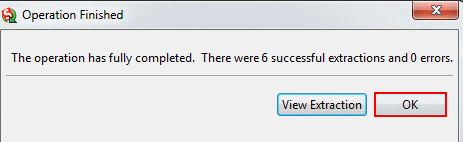
We have Successfully extracted total records and open CSV file to view records and fields.
We have successfully Deleted and Exported Records using Data Loader Salesforce.
Export and Export All Difference in Salesforce Data Loader
The Export option is normally used for current records that are available in the selected Salesforce object. The Export All option is used when you need a wider extract that can include deleted records from the Recycle Bin and archived activity records, depending on the object, access, and retention behavior in your org.
- Use Export for regular backups, reporting extracts, and CSV files used for update or delete preparation.
- Use Export All when you are auditing deleted data or checking records that may no longer appear in normal views.
- Always include the Id field if the exported file may later be used for update, upsert, or delete operations.
Common Salesforce Data Loader Delete and Export Problems
| Problem | Likely reason | What to check |
|---|---|---|
| Invalid ID error | The ID is missing, shortened, copied incorrectly, or belongs to another object | Export the object again and copy the full Salesforce Id value |
| Insufficient access error | User does not have delete or field/object access | Review profile, permission set, sharing, and object permissions |
| Rows missing in export | SOQL filter excludes records or user cannot access those records | Check WHERE clause, object access, and sharing visibility |
| CSV mapping does not work | Column names do not match the expected Salesforce fields | Use Create or Edit a Map and manually map the Id field |
Salesforce Data Loader Delete and Export Safety Checklist
- Export the records before deleting them.
- Confirm that the CSV contains the correct Salesforce Id values.
- Check that the selected object in Data Loader matches the IDs in the CSV.
- Map the Id column carefully during the delete operation.
- Save the success and error files in a known folder.
- Review failed rows before running another delete job.
FAQs on Deleting and Exporting Records using Data Loader Salesforce
How to delete records in Salesforce using Data Loader?
Open Data Loader, choose Delete, log in, select the Salesforce object, upload a CSV file containing the record Id column, map the CSV Id to the Salesforce Id field, choose a folder for success and error files, and confirm the delete operation.
What should be included in a Data Loader delete CSV?
The delete CSV must include the Salesforce record Id. You may keep other columns for reference, but the Id field is the important value used by Data Loader to identify records for deletion.
What is the difference between Export and Export All in Data Loader?
Export is used for regular record extraction from a Salesforce object. Export All is used when you also need deleted records in the Recycle Bin or archived activity records where they are available to your user.
Can Data Loader mass delete Salesforce records?
Yes. Data Loader can delete records in bulk when the CSV contains valid Salesforce record IDs and the logged-in user has the required delete permission on the selected object.
Why does Data Loader create success and error files?
The success file lists records processed successfully. The error file lists failed records and the reason for failure, so you can correct the data or permissions before running another operation.
Deleting and Exporting Salesforce Records with Data Loader Summary
In this Salesforce Tutorial we have learned about deleting and exporting records using Data loader Salesforce. For delete operations, prepare a CSV with correct Salesforce record IDs, map the Id field, and verify the success and error files. For export operations, select the object, required fields, and optional filters so the downloaded CSV contains only the records you need. In our upcoming Salesforce tutorial we are going to learn about Data Import Wizard in Salesforce.